GROWING STORE-BOUGHT BUCKWHEAT 9march2026
A "hack" for very cheap seeds of plants that might otherwise be hard to come-accross is just "growing" whatever is in your pantry. You can, without any problem, sow in your garden basically any dried beans or peas, many spices (like cumin, anise), oilseeds (like mustard, chia and linseed) and some grains like popcorn and wheat berries.
Can this be done with buckwheat? The buckweat you can buy in a grocery store has, in truth, had its hard, inedible hull removed, but the seed itself is generally preserved intact and many of the seeds retain germination ability. As long as it is raw (i.e. has not been roasted to stop it from going rancid) and has not been stored too long it should germinate properly.
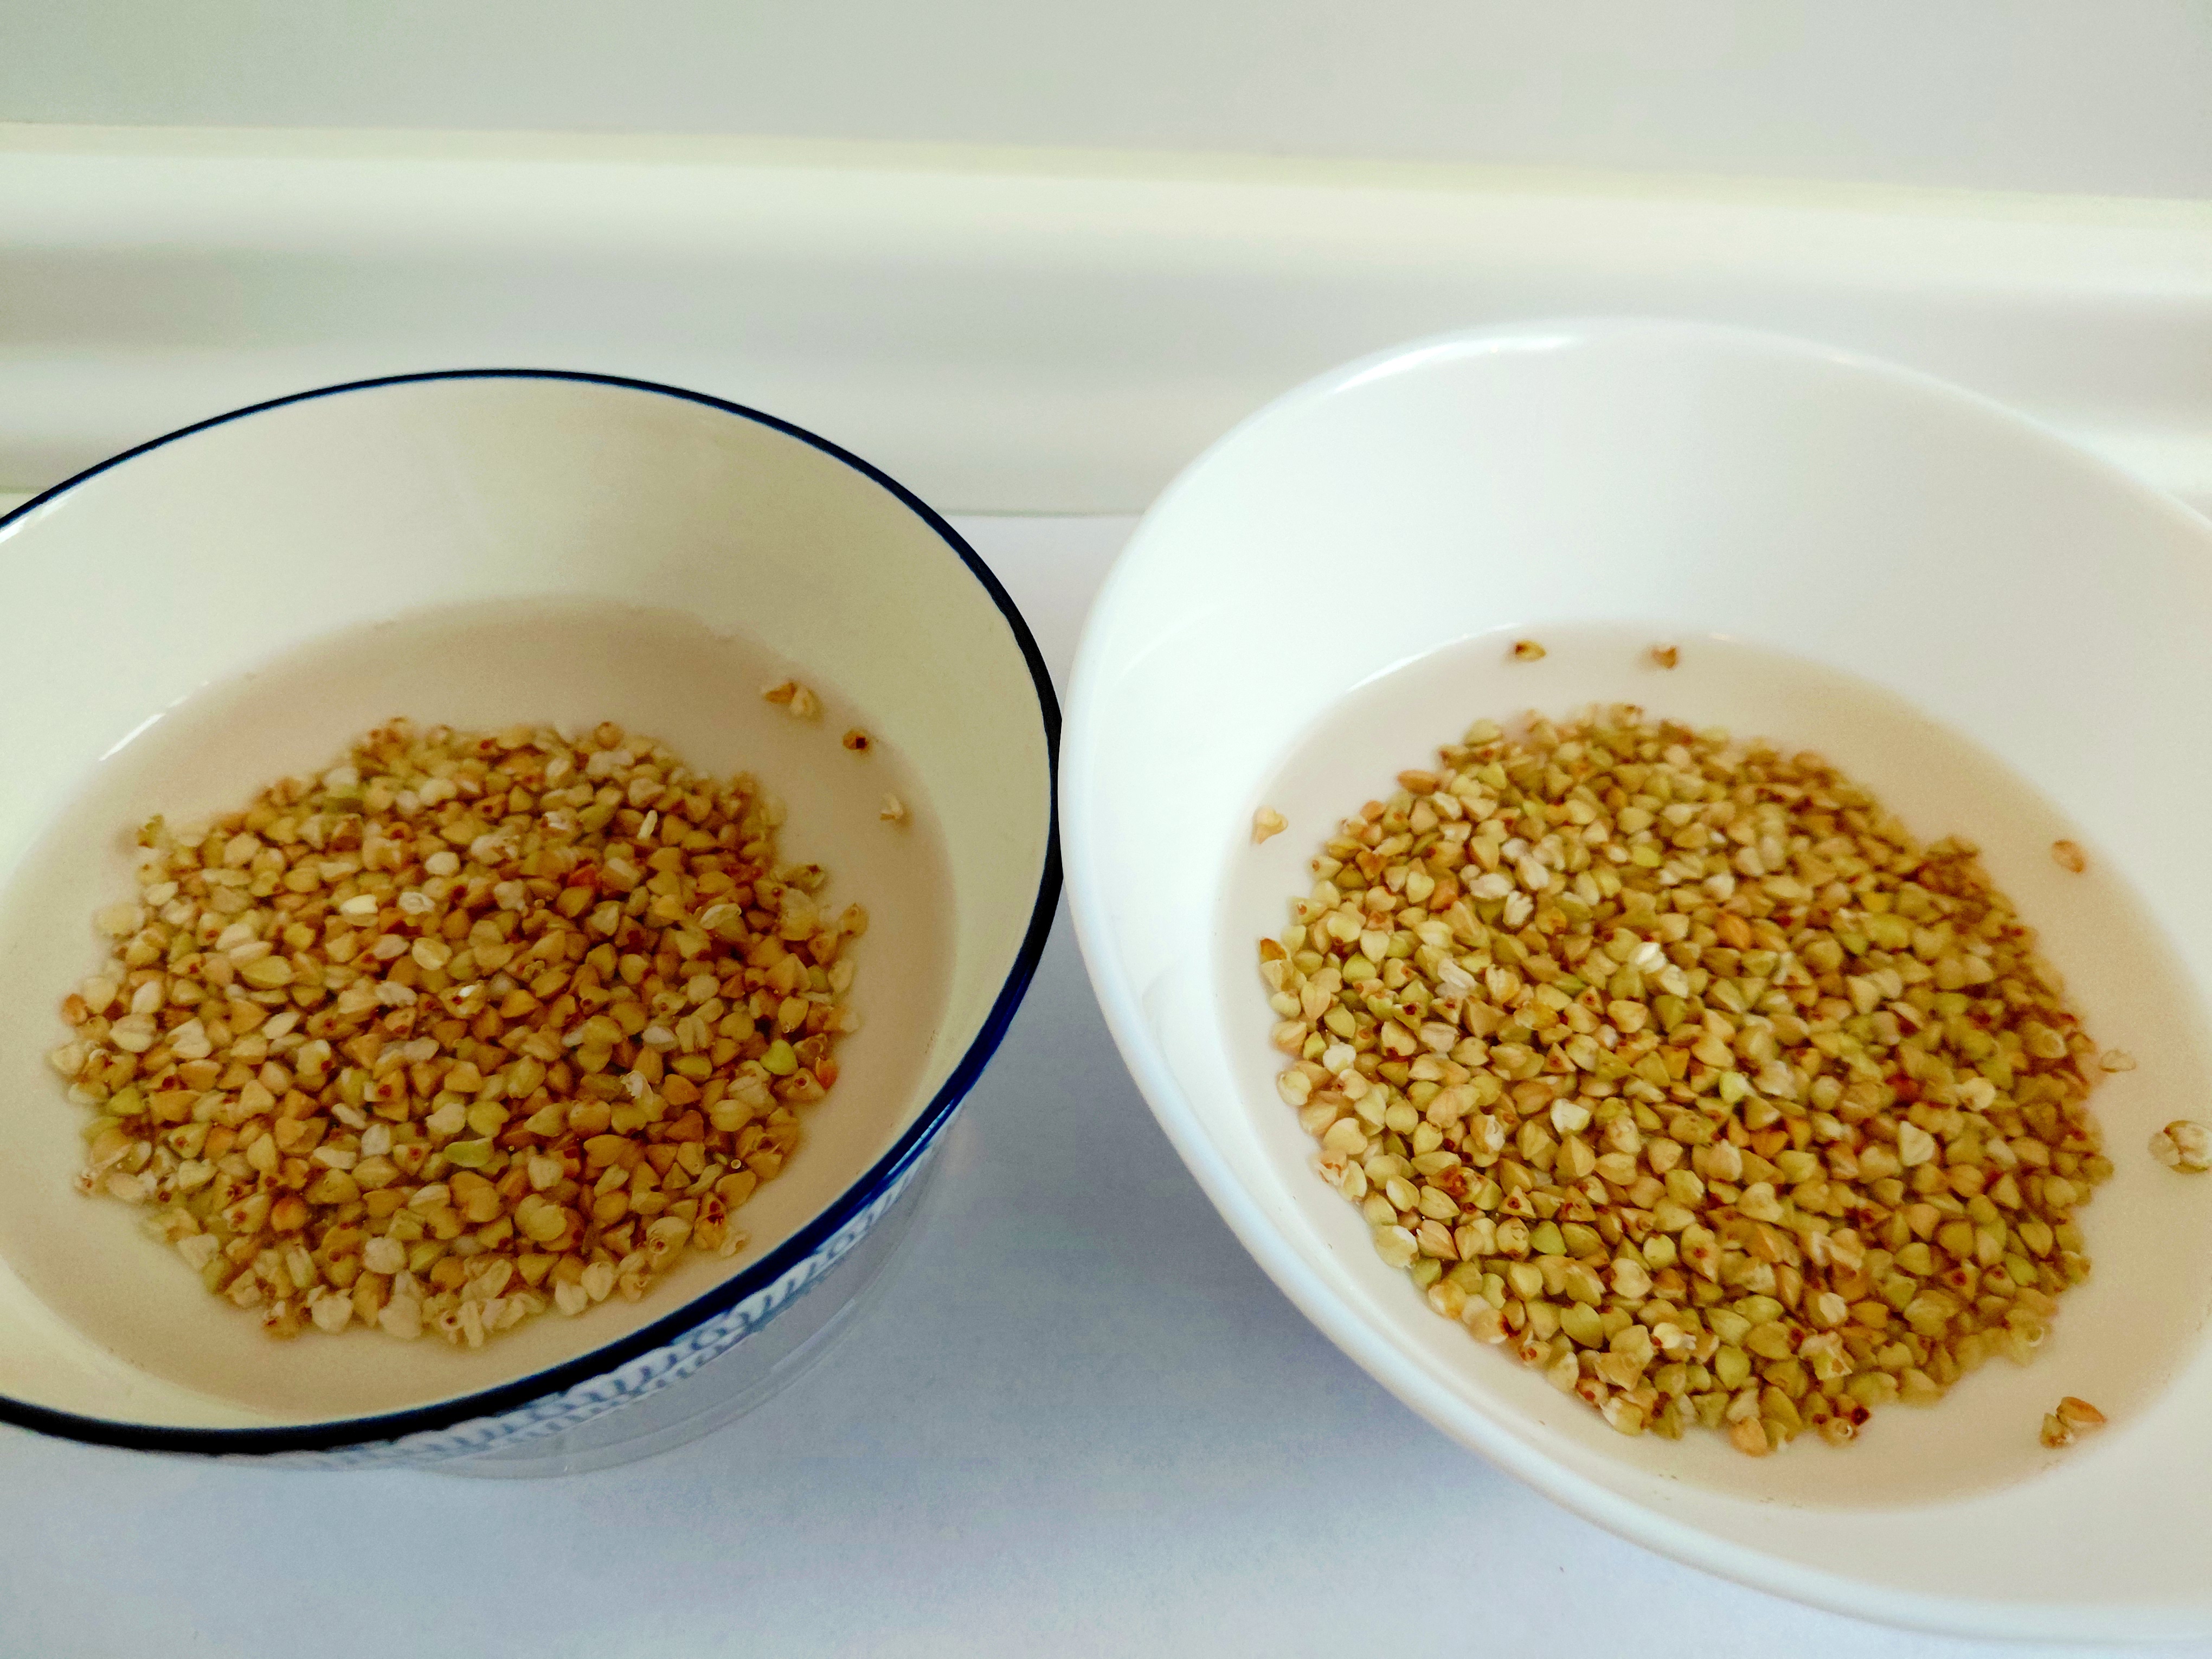
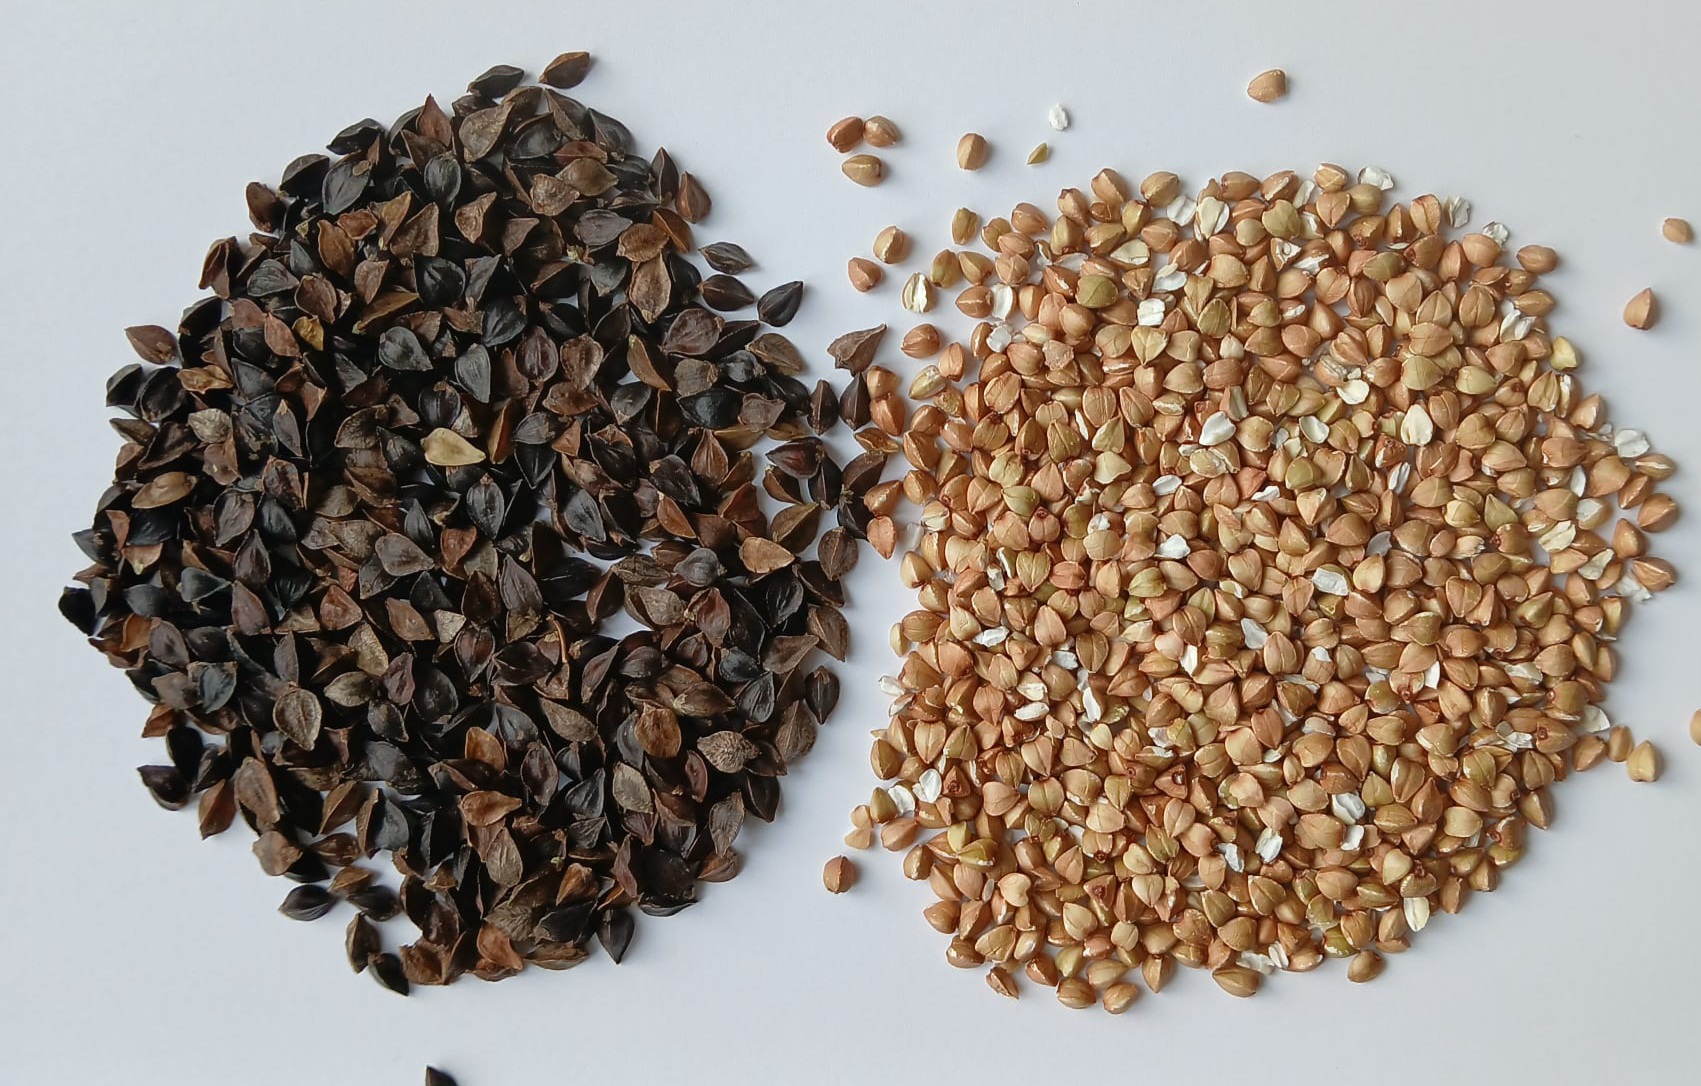 ^ hulled (left) vs buckwheat after its hull is removed (right)
On the internet you can find people sprouting this pseudograin for snacking raw, adding to various dishes and for baking sprouted buckwheat bread.
However, as for plants that are typically meant to be sown with the hull intact (including not only our buckwheat, but also sunflowers, rice and spelt amongst many others) removal of this protective coat reduces the vigour of seedlings, I am unsure if these sprouts would survive long enought to fully grow into the adult phase. This is what I would want to confirm with this small project.
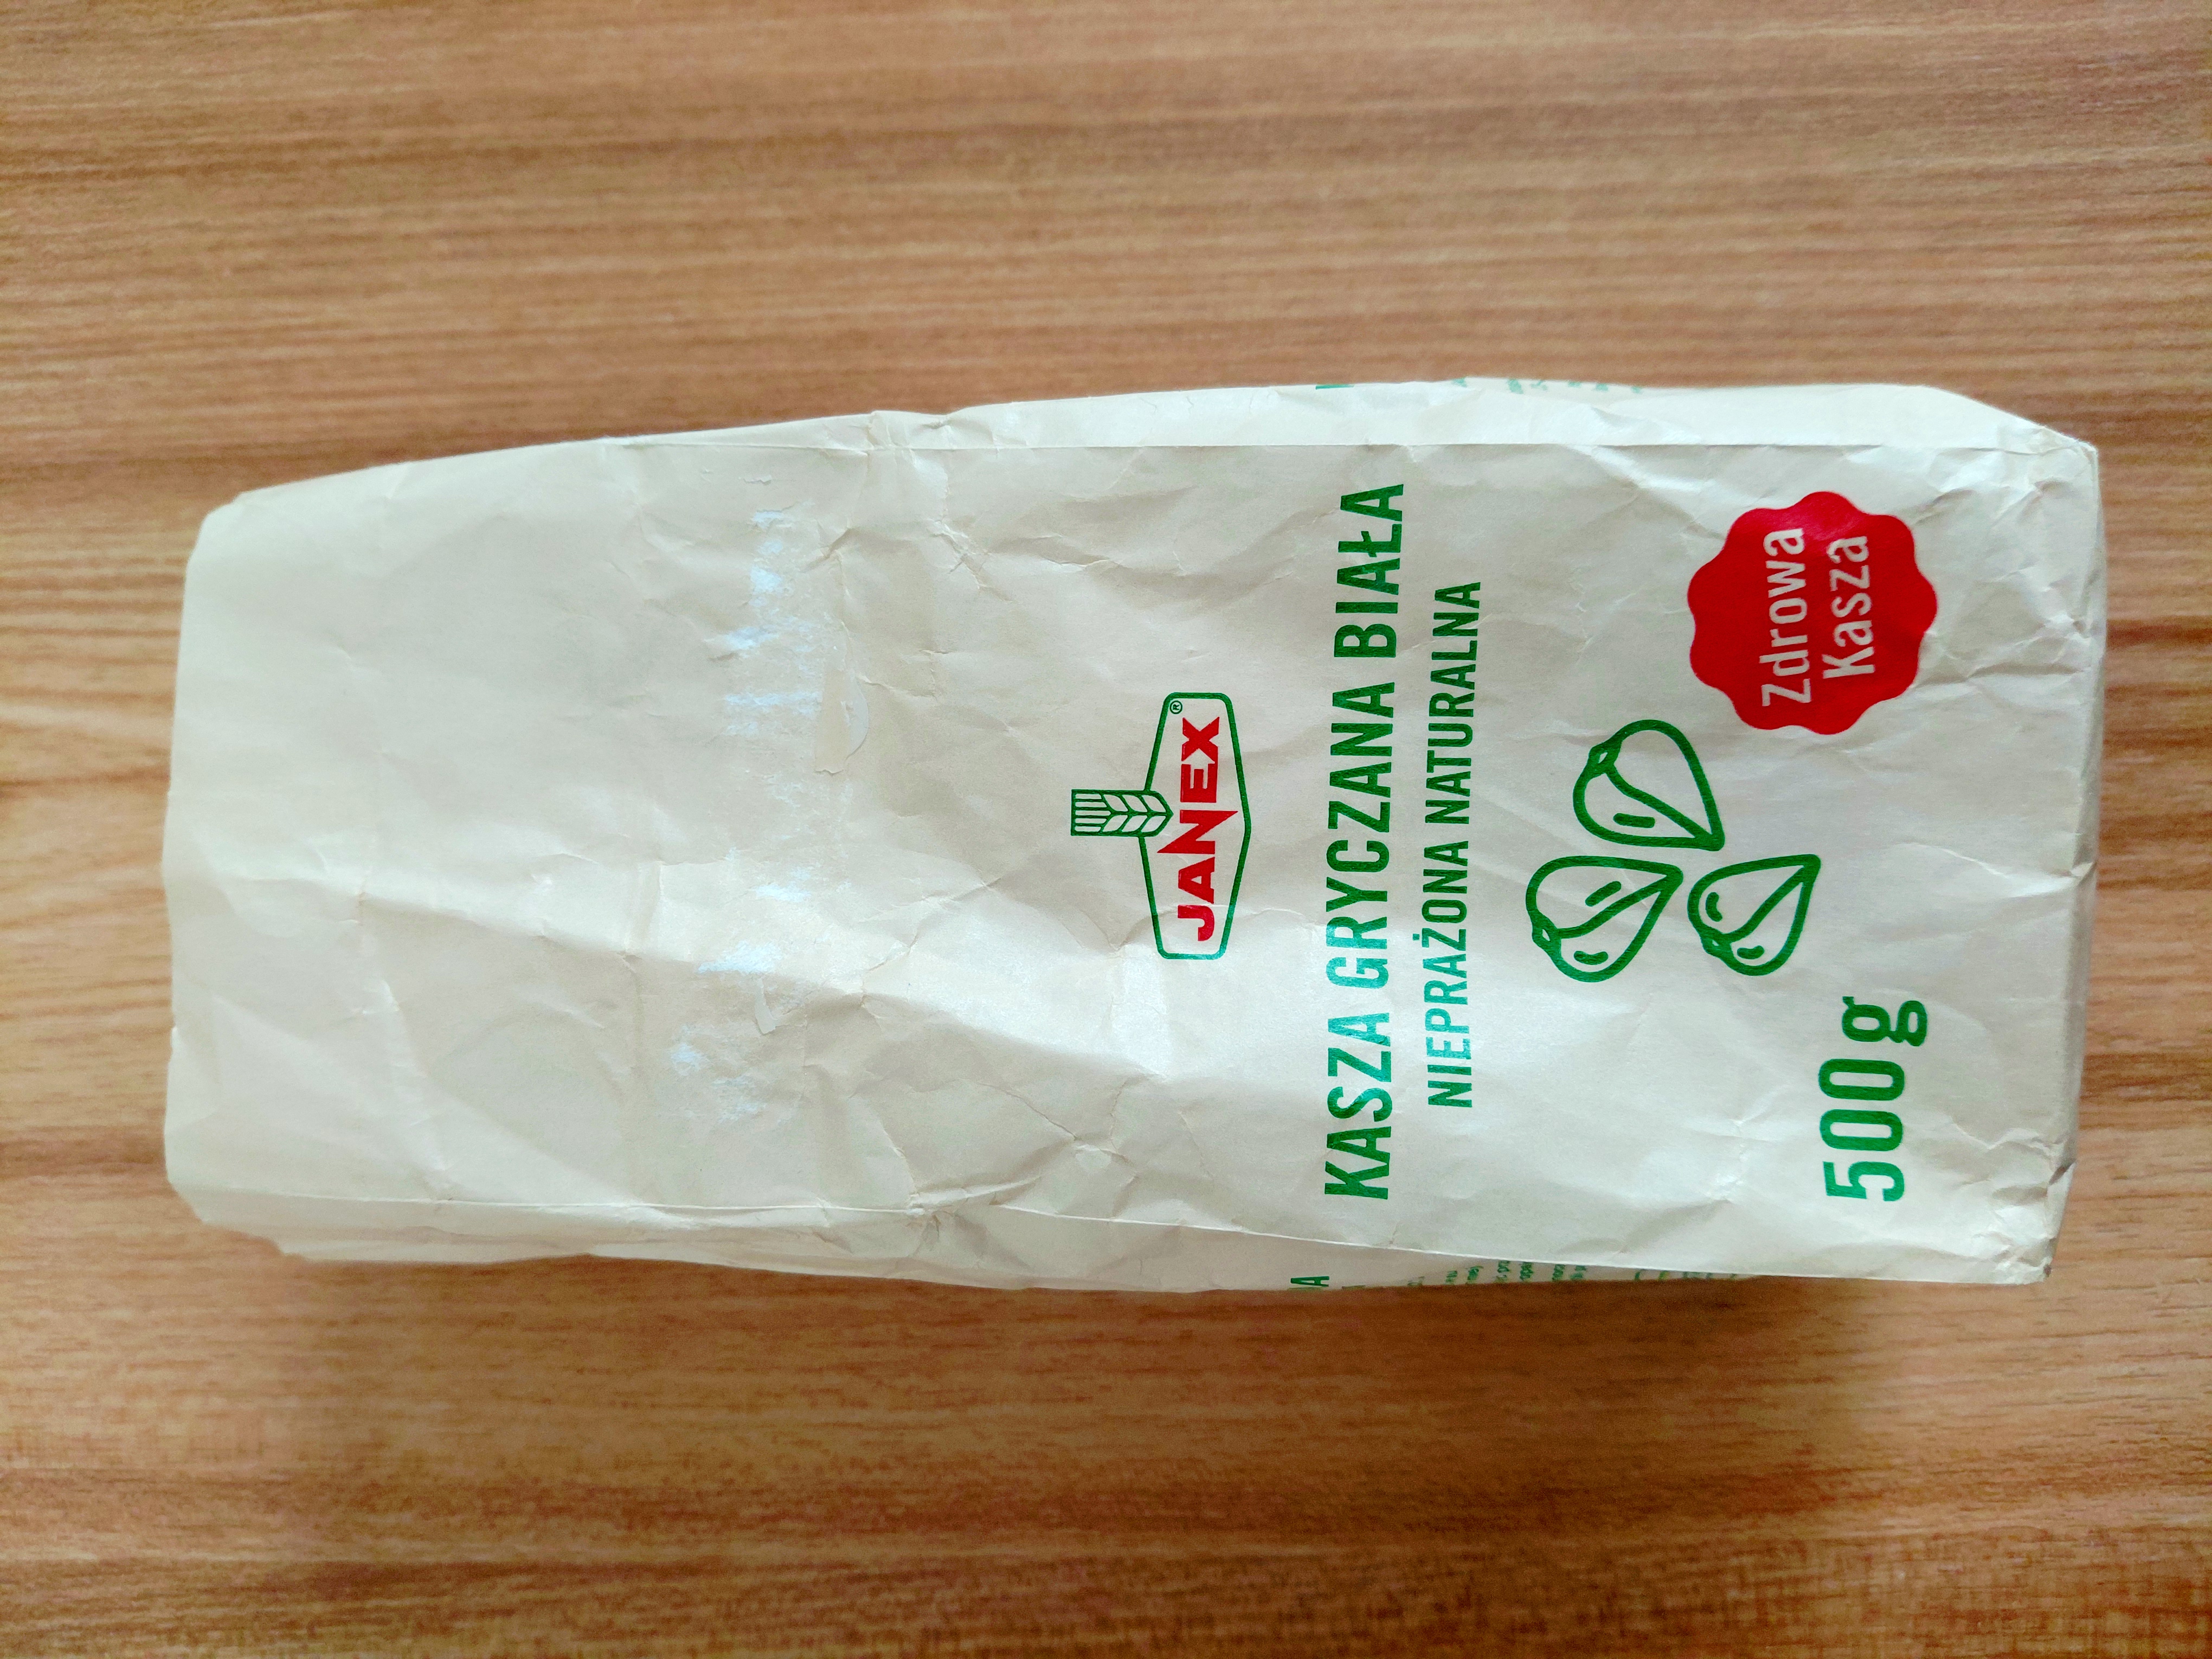
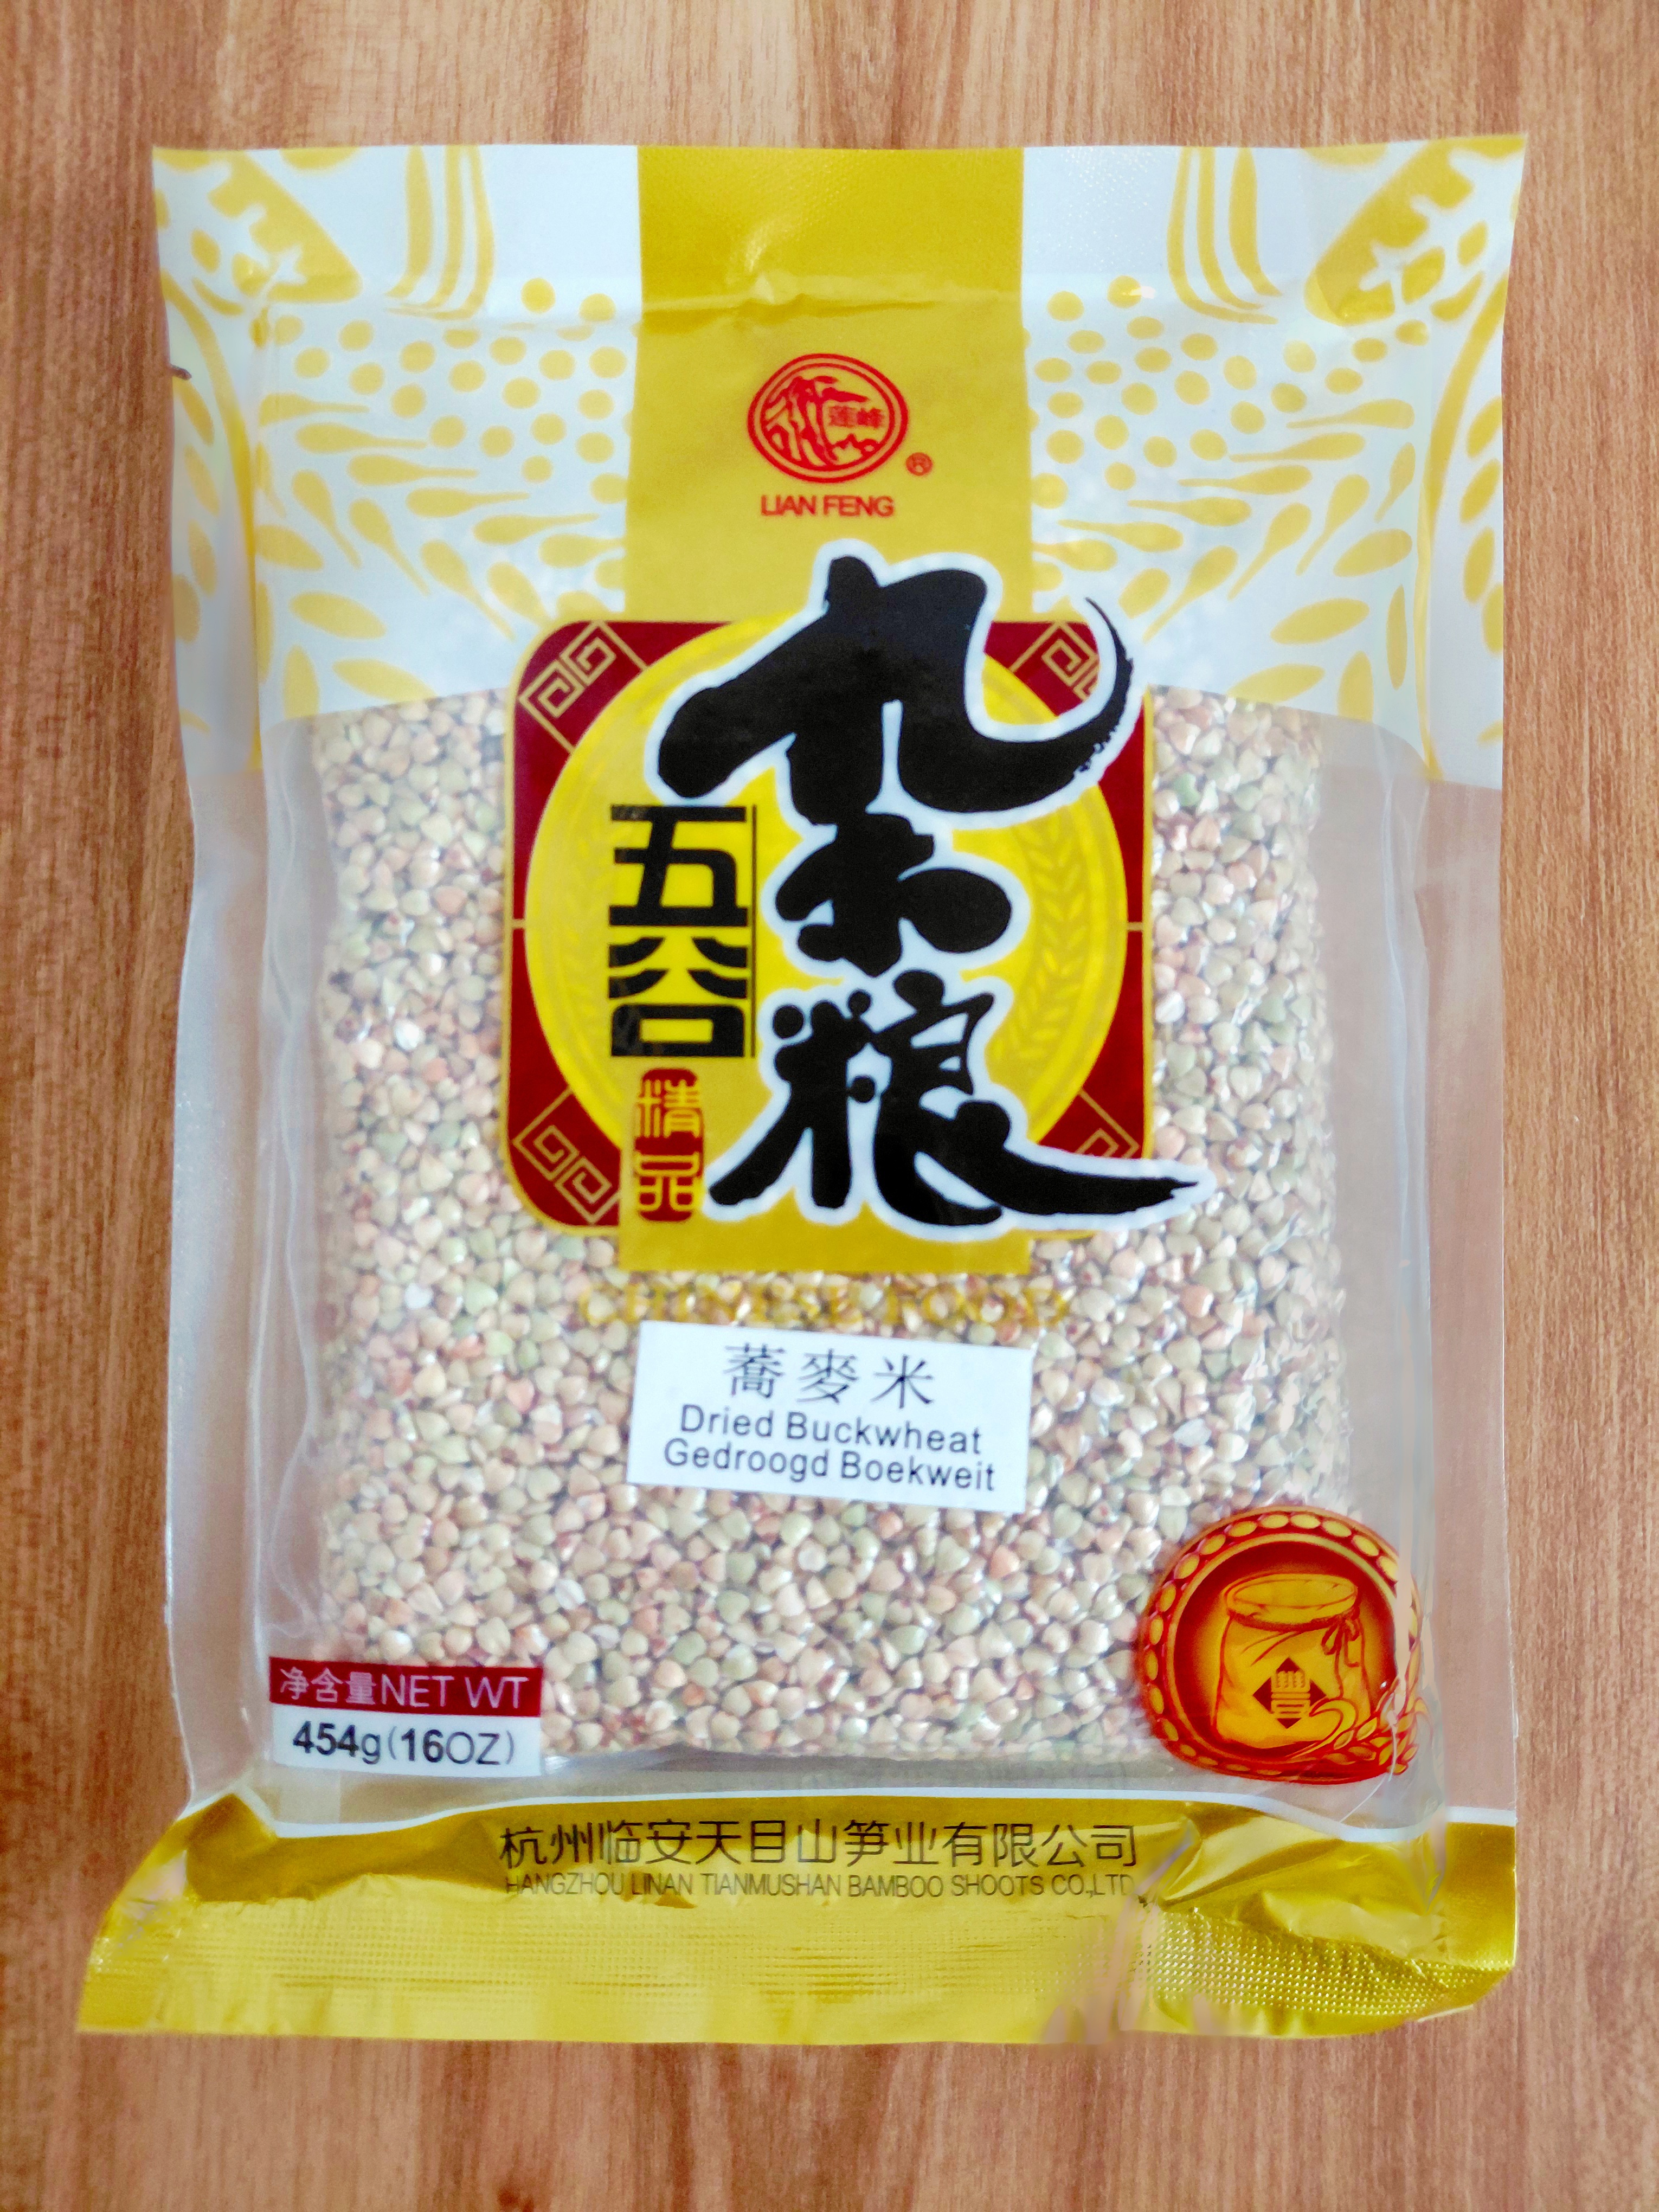
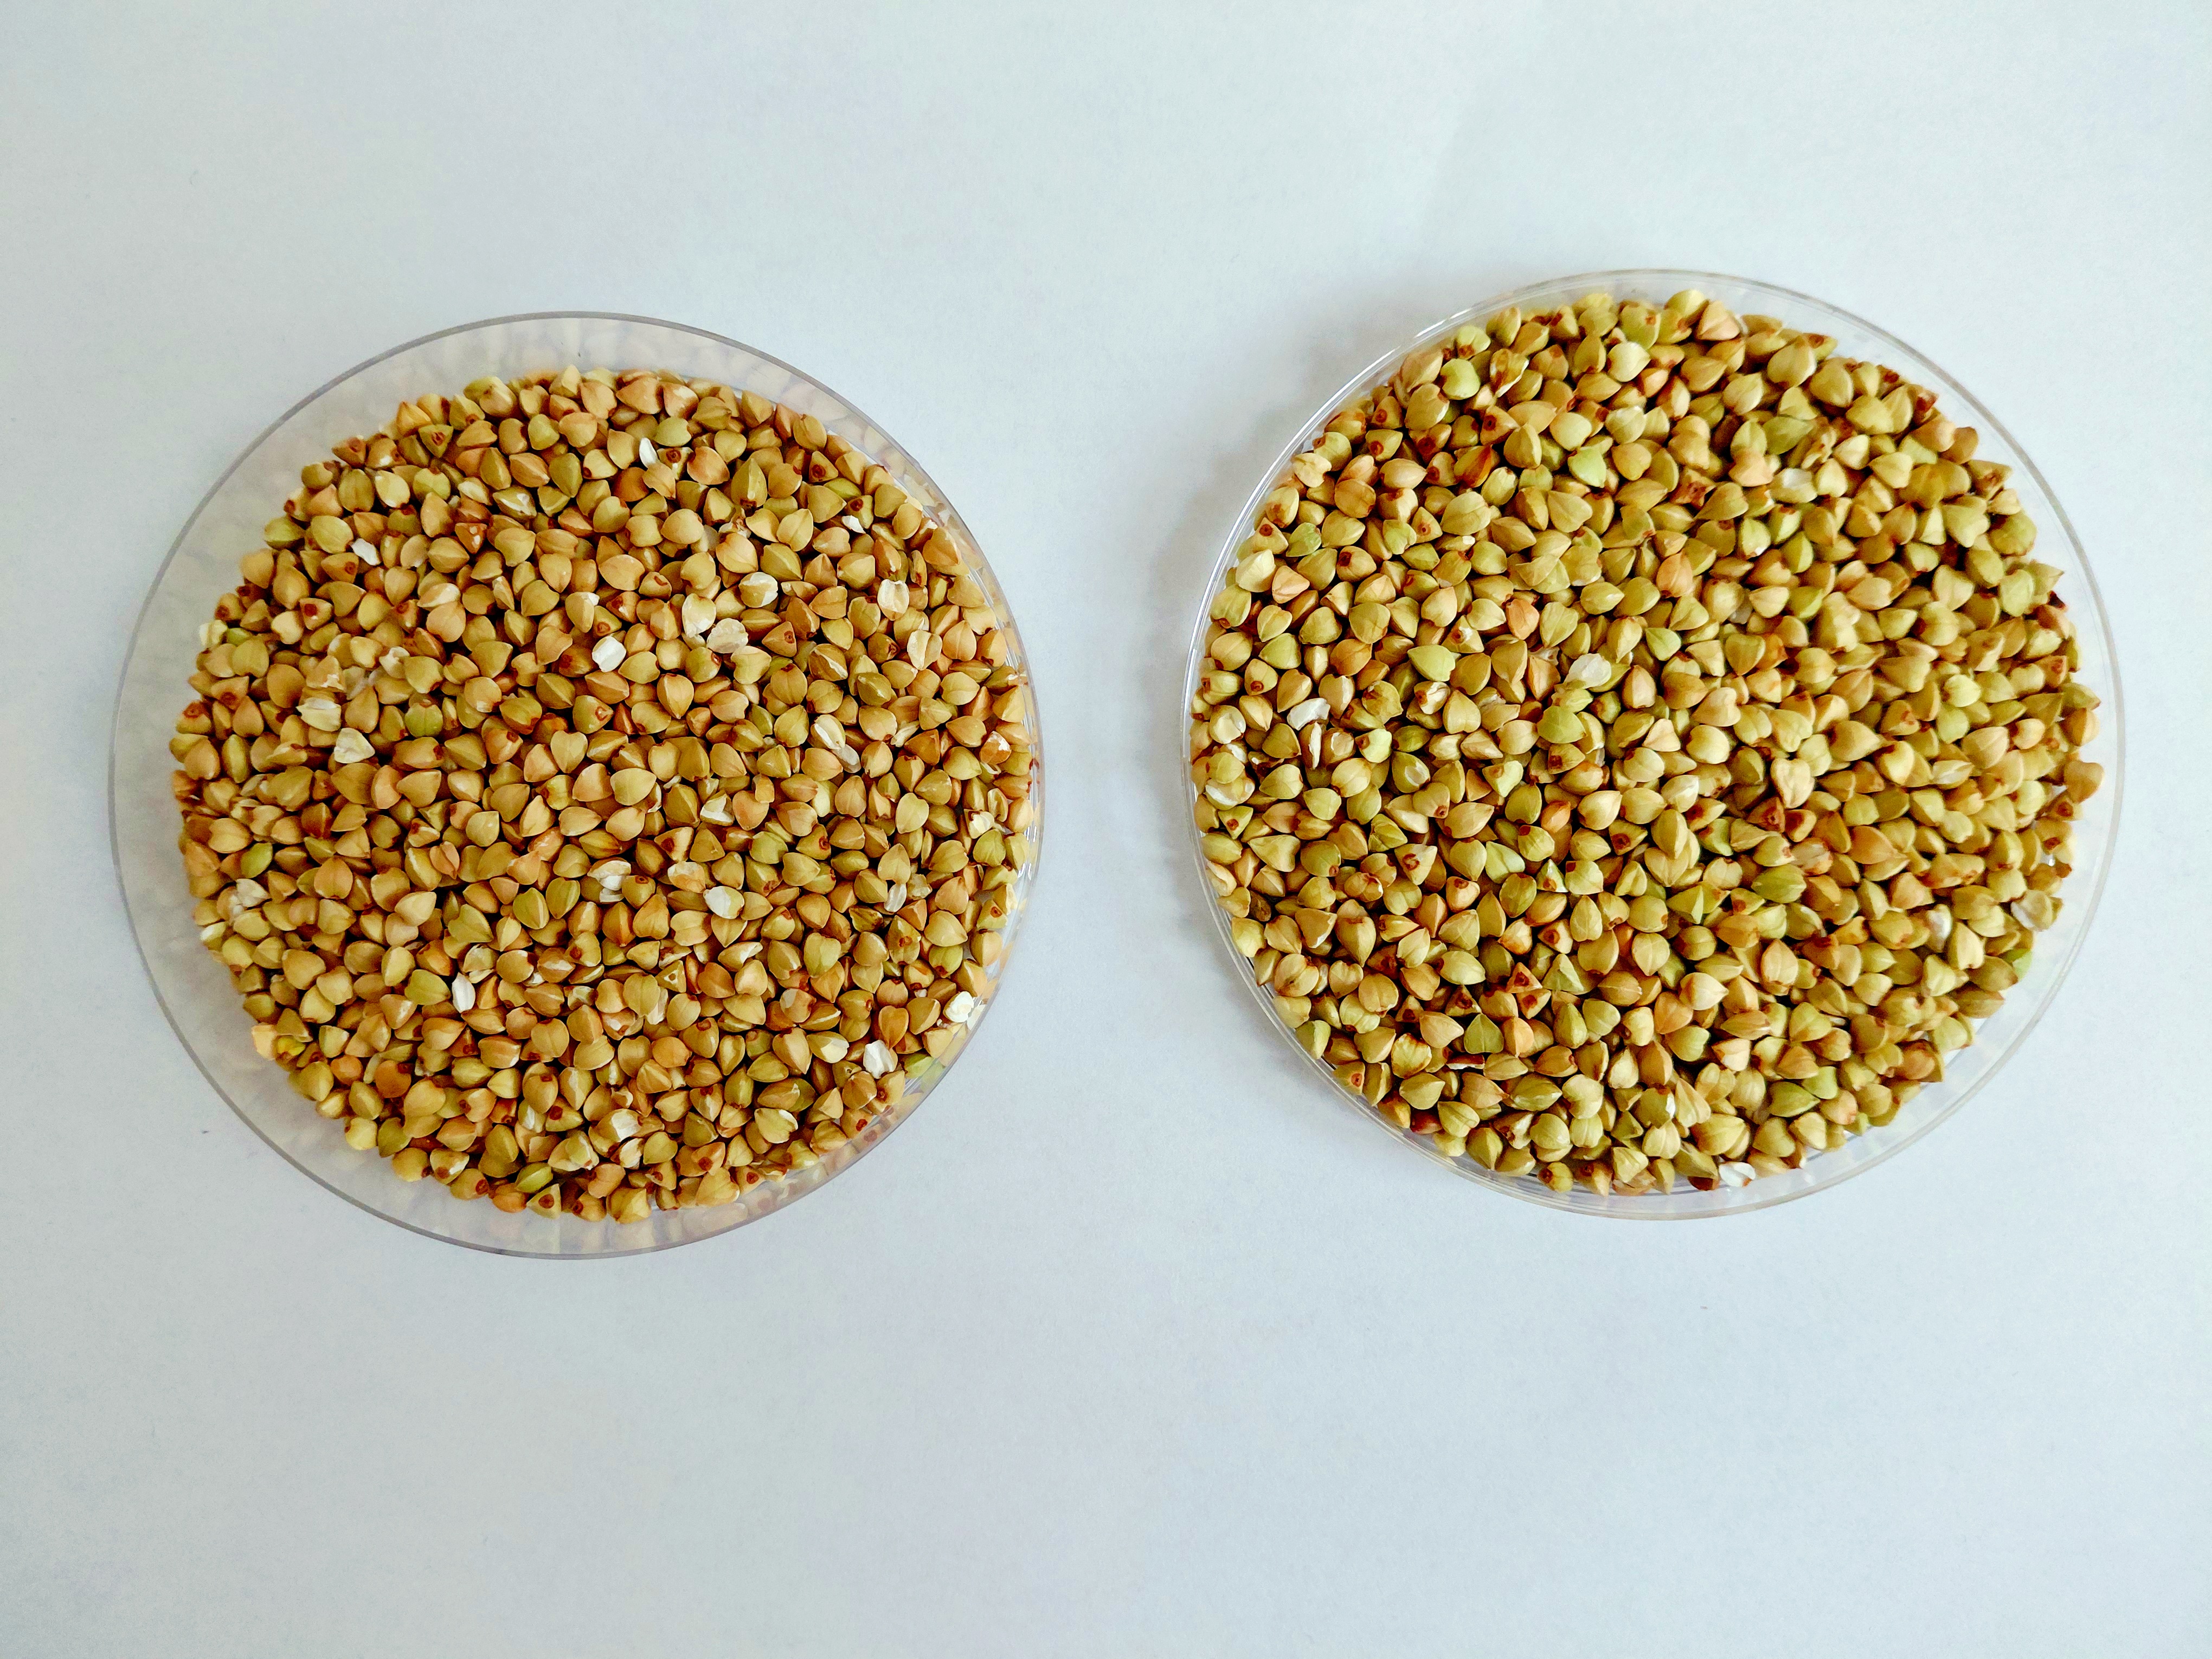
For this experiment I chose raw buckwheat from two different sources of origin, one Polish brand (left) and one imported from the PRofC (right). This way, I hope to eventually end up with two unique varieties.
The PRofC buckwheat (right) look slightly bigger and a tad more green. This could be varietal differences, but might as well be due to a different level of maturity during harvest and sorting during processing.
The seeds were soaked in water for 9 hours in +/- 20*C water.
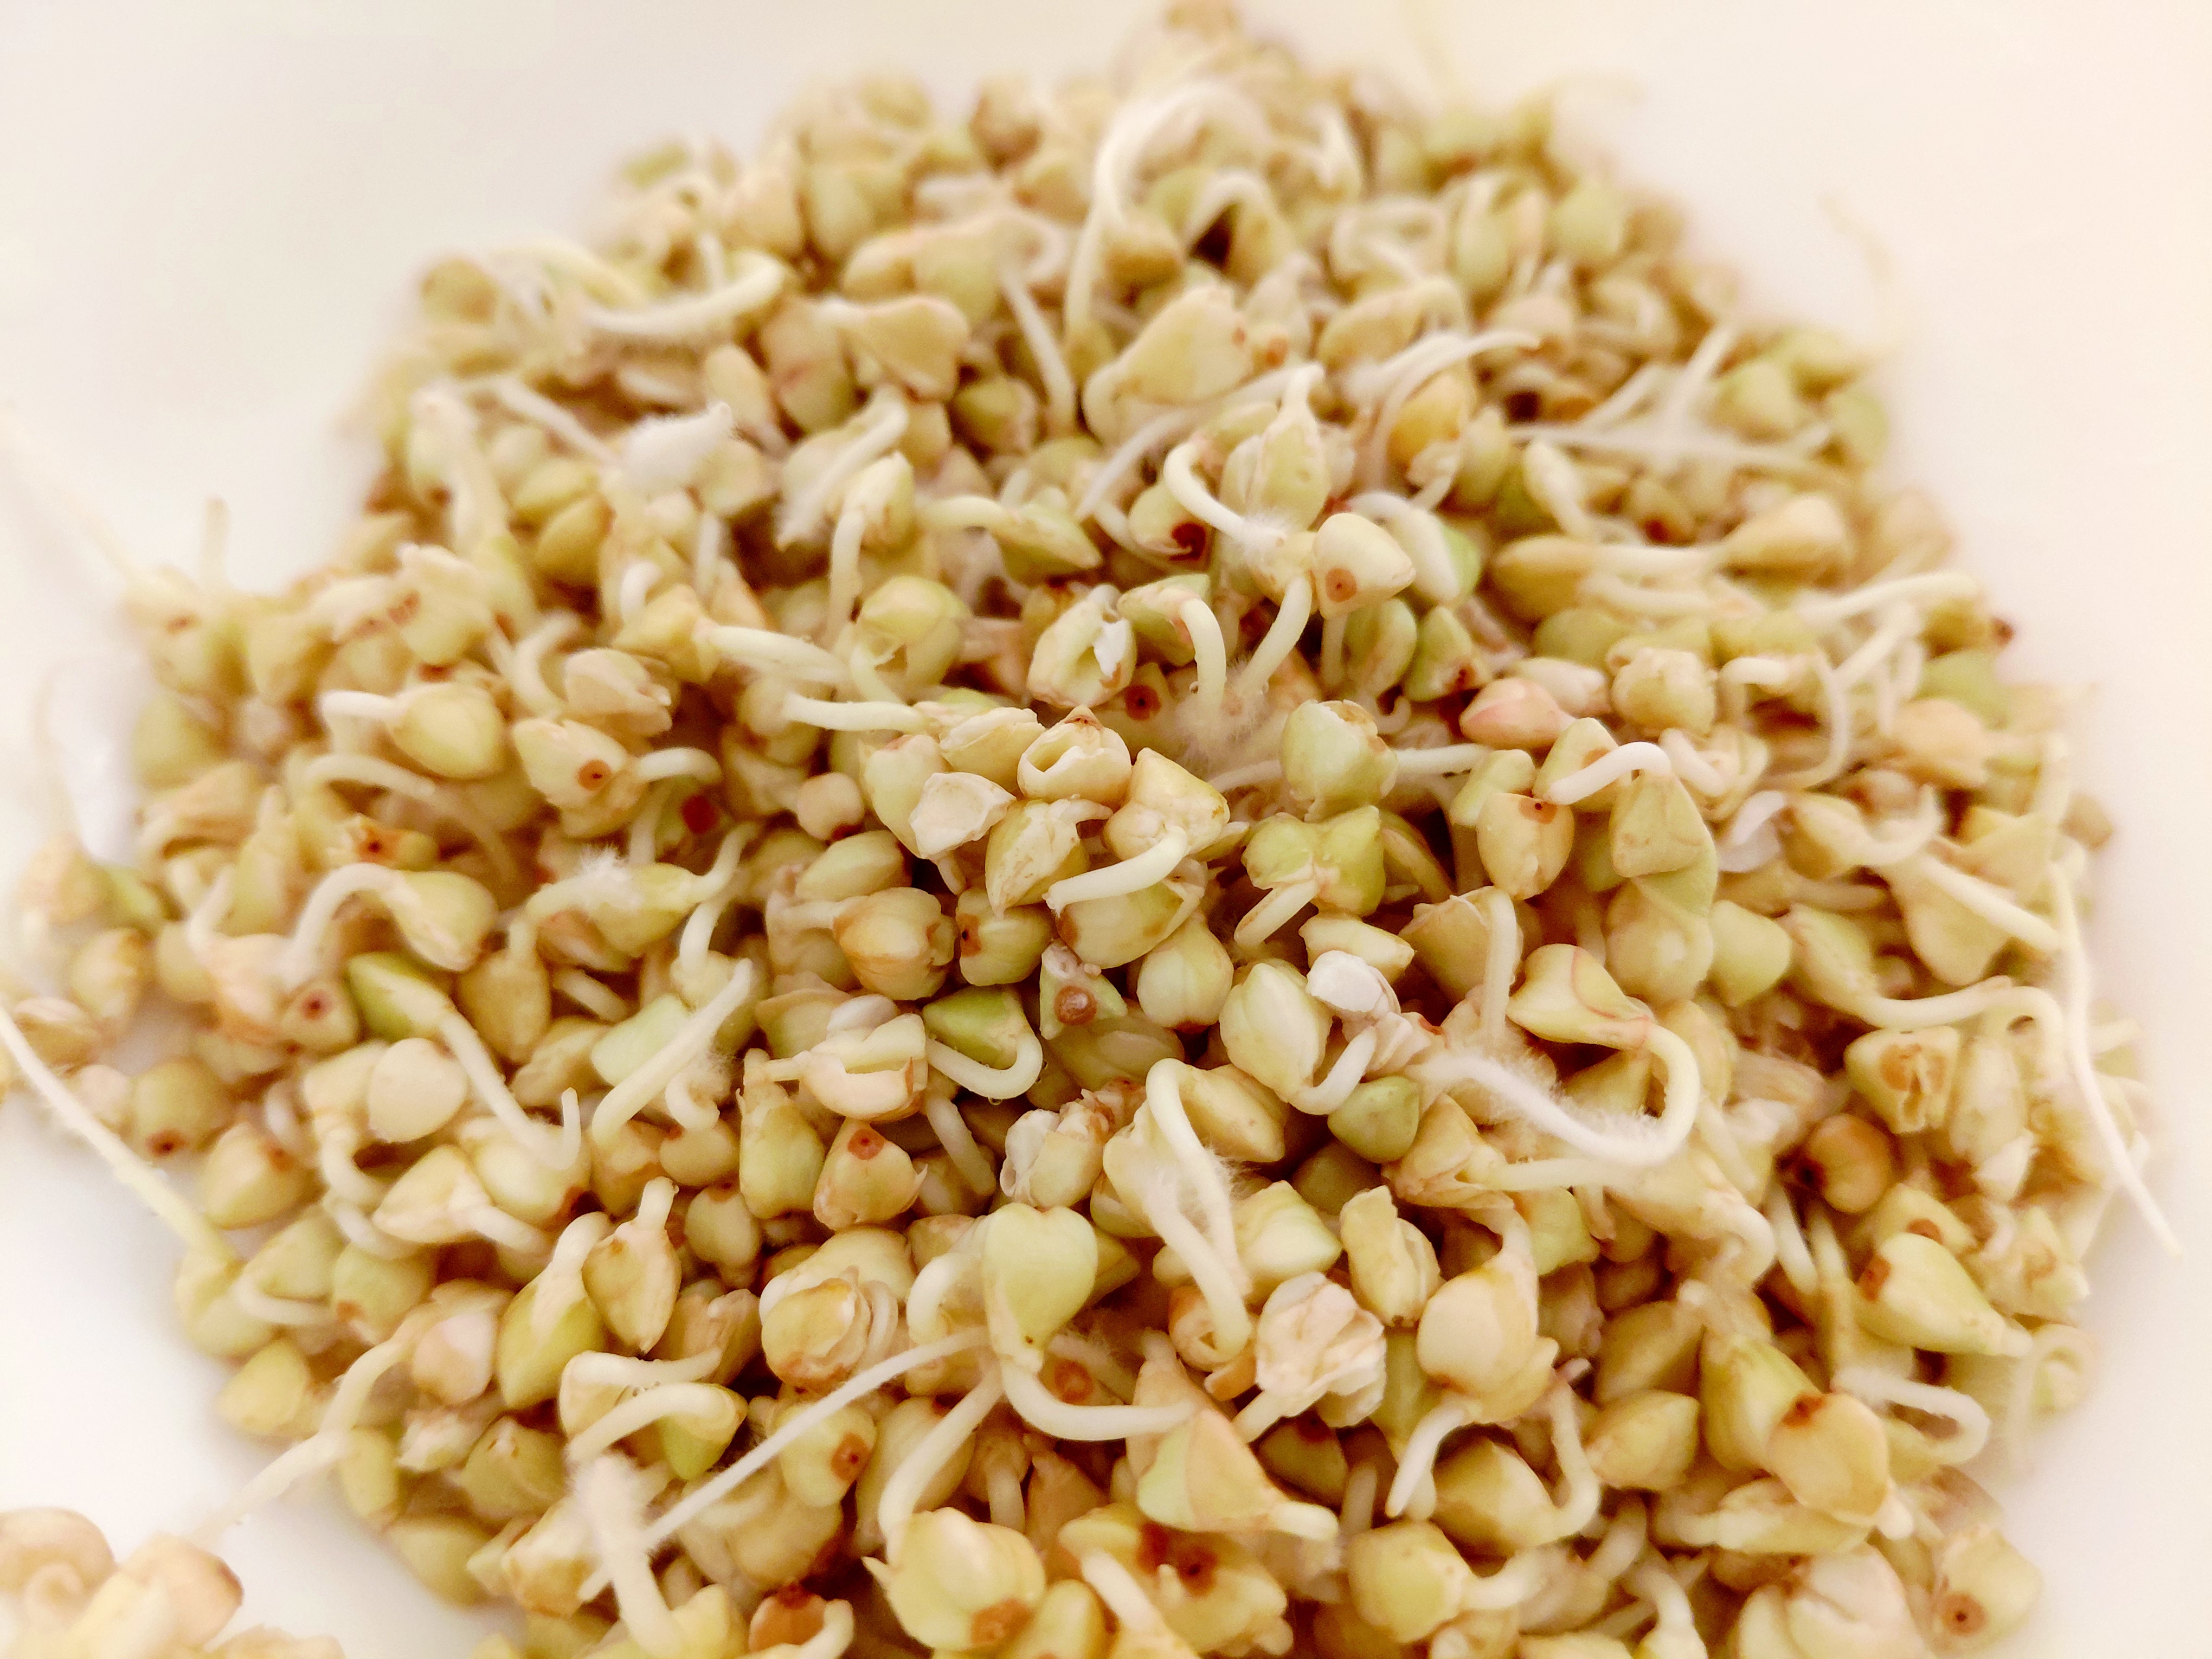
After the soaking step, the bowls were drained and covered to not allow the groats to dry out. The jars were watered four times per day making sure to drain any excess moisture.
Here are the groats after 48 hours.

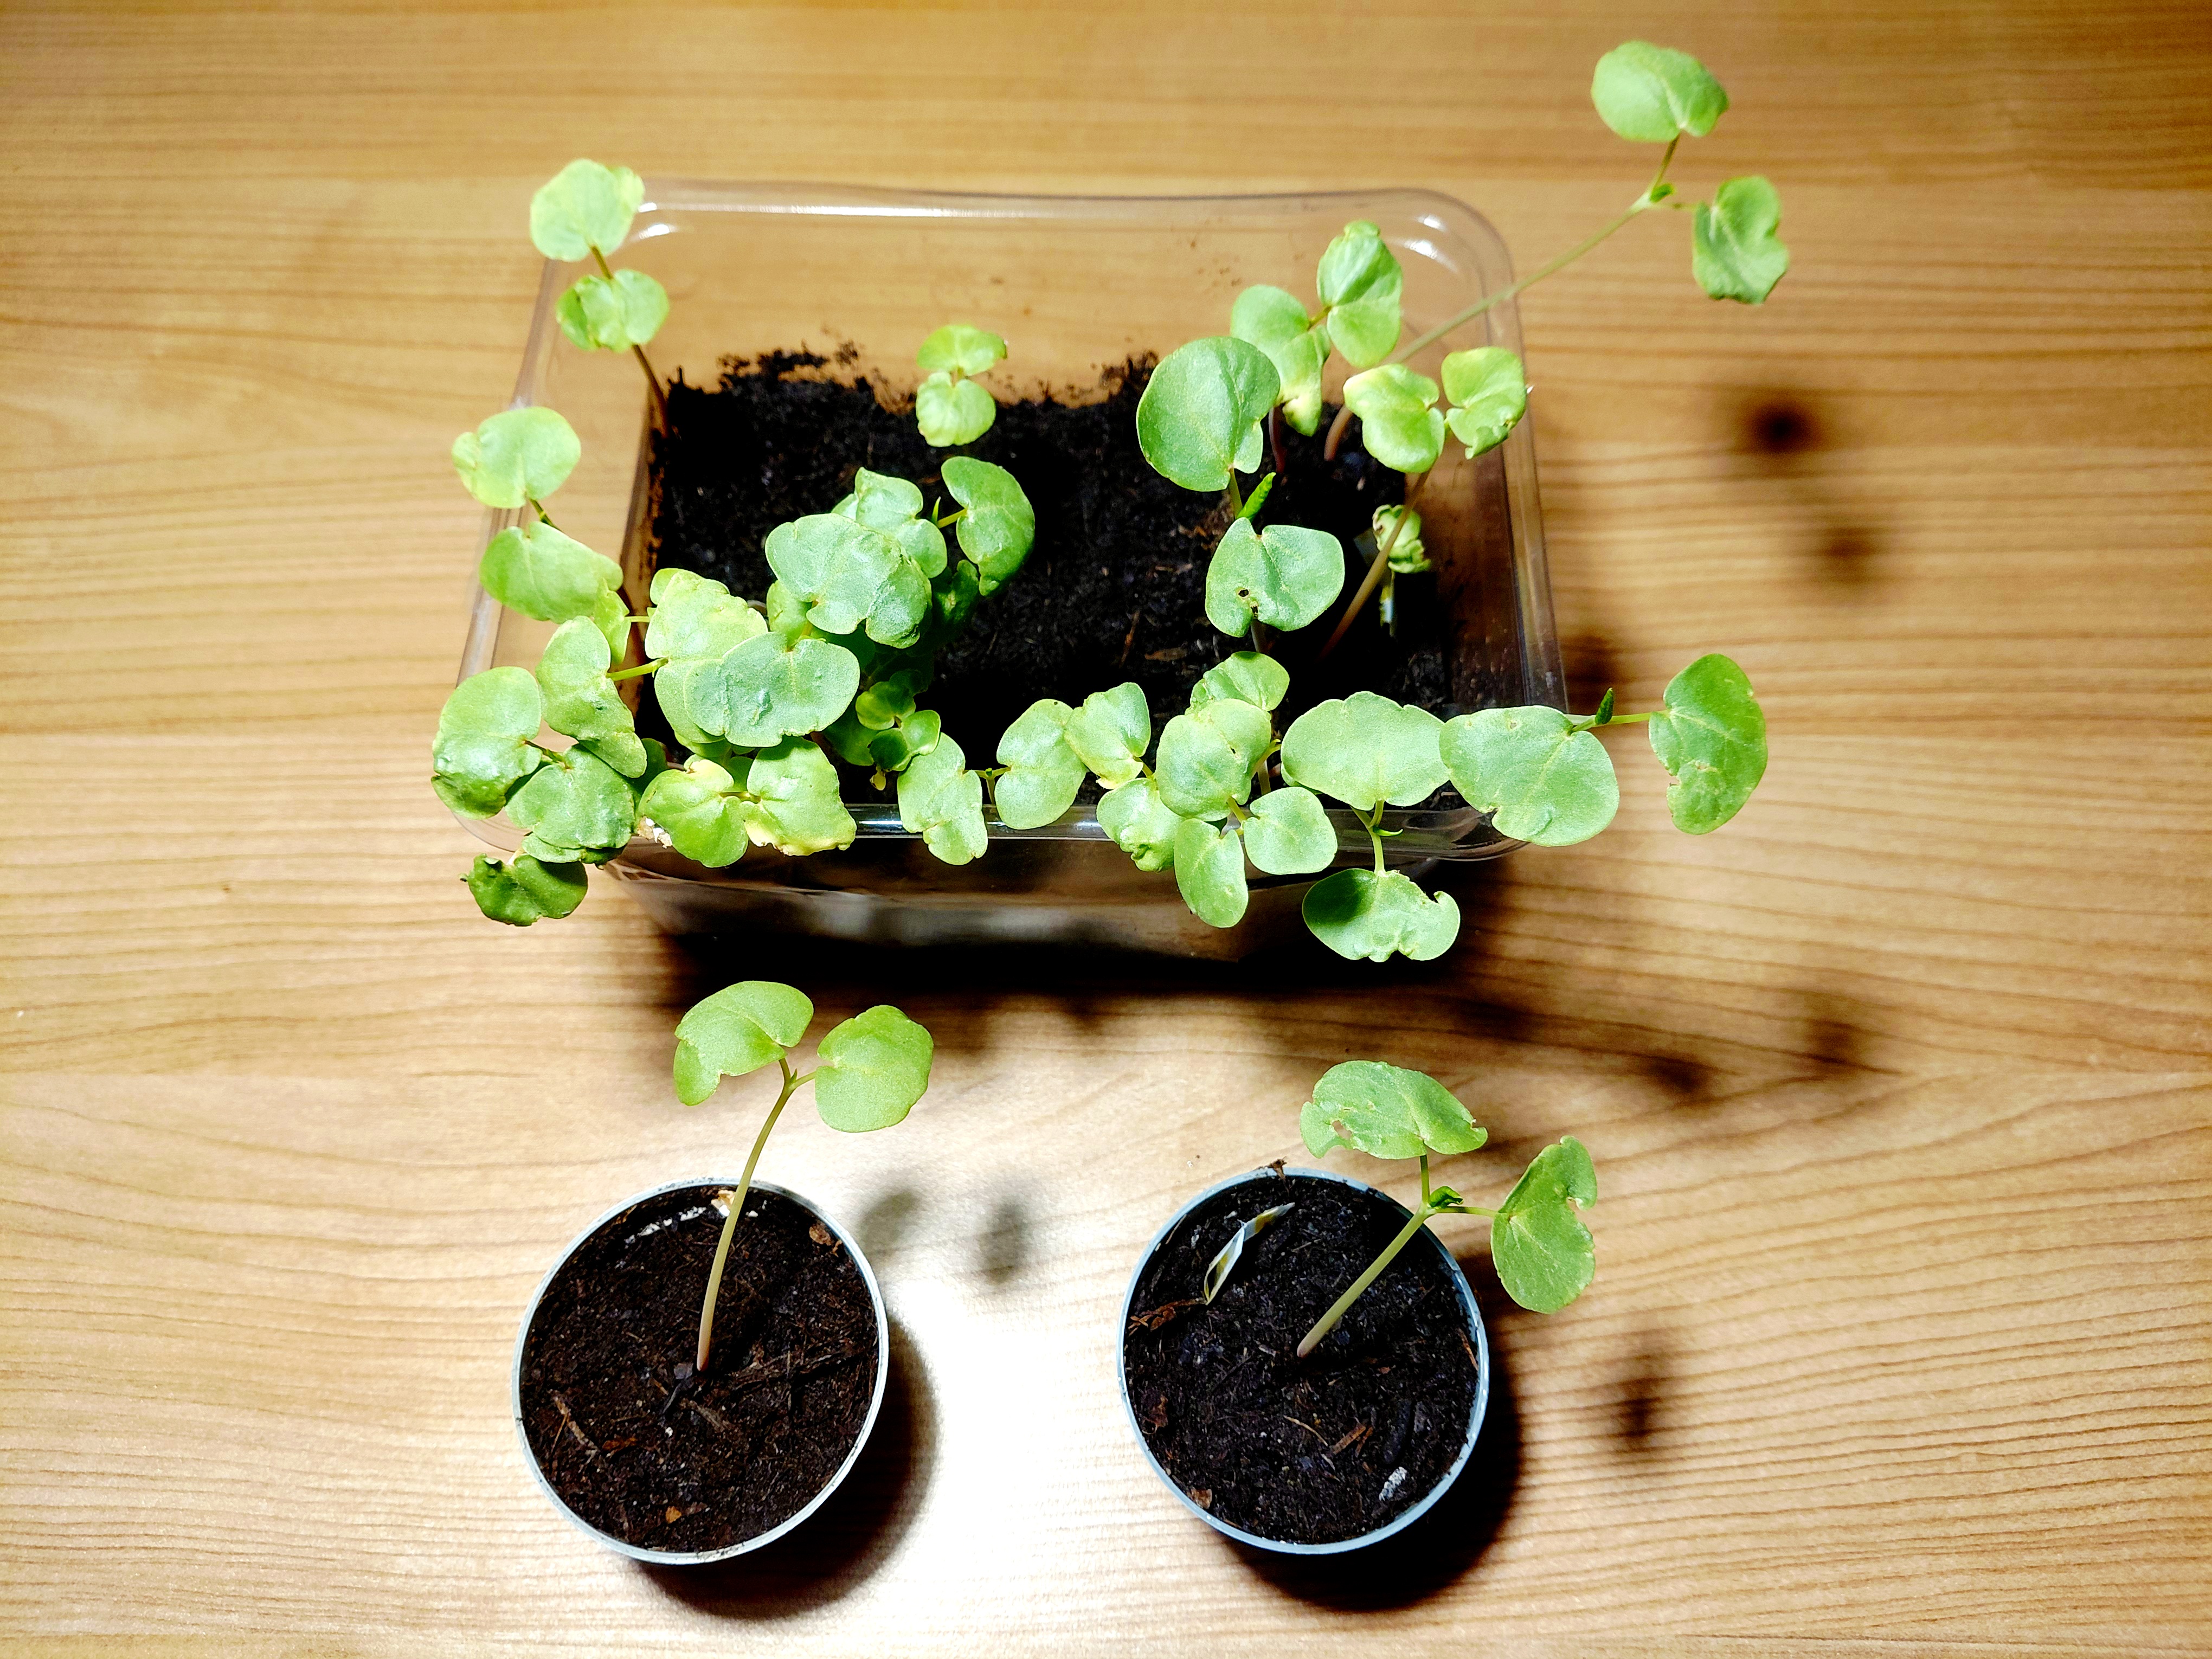
After 3 days I transfered the healthiest looking "seedlings" to peat-based potting soil.
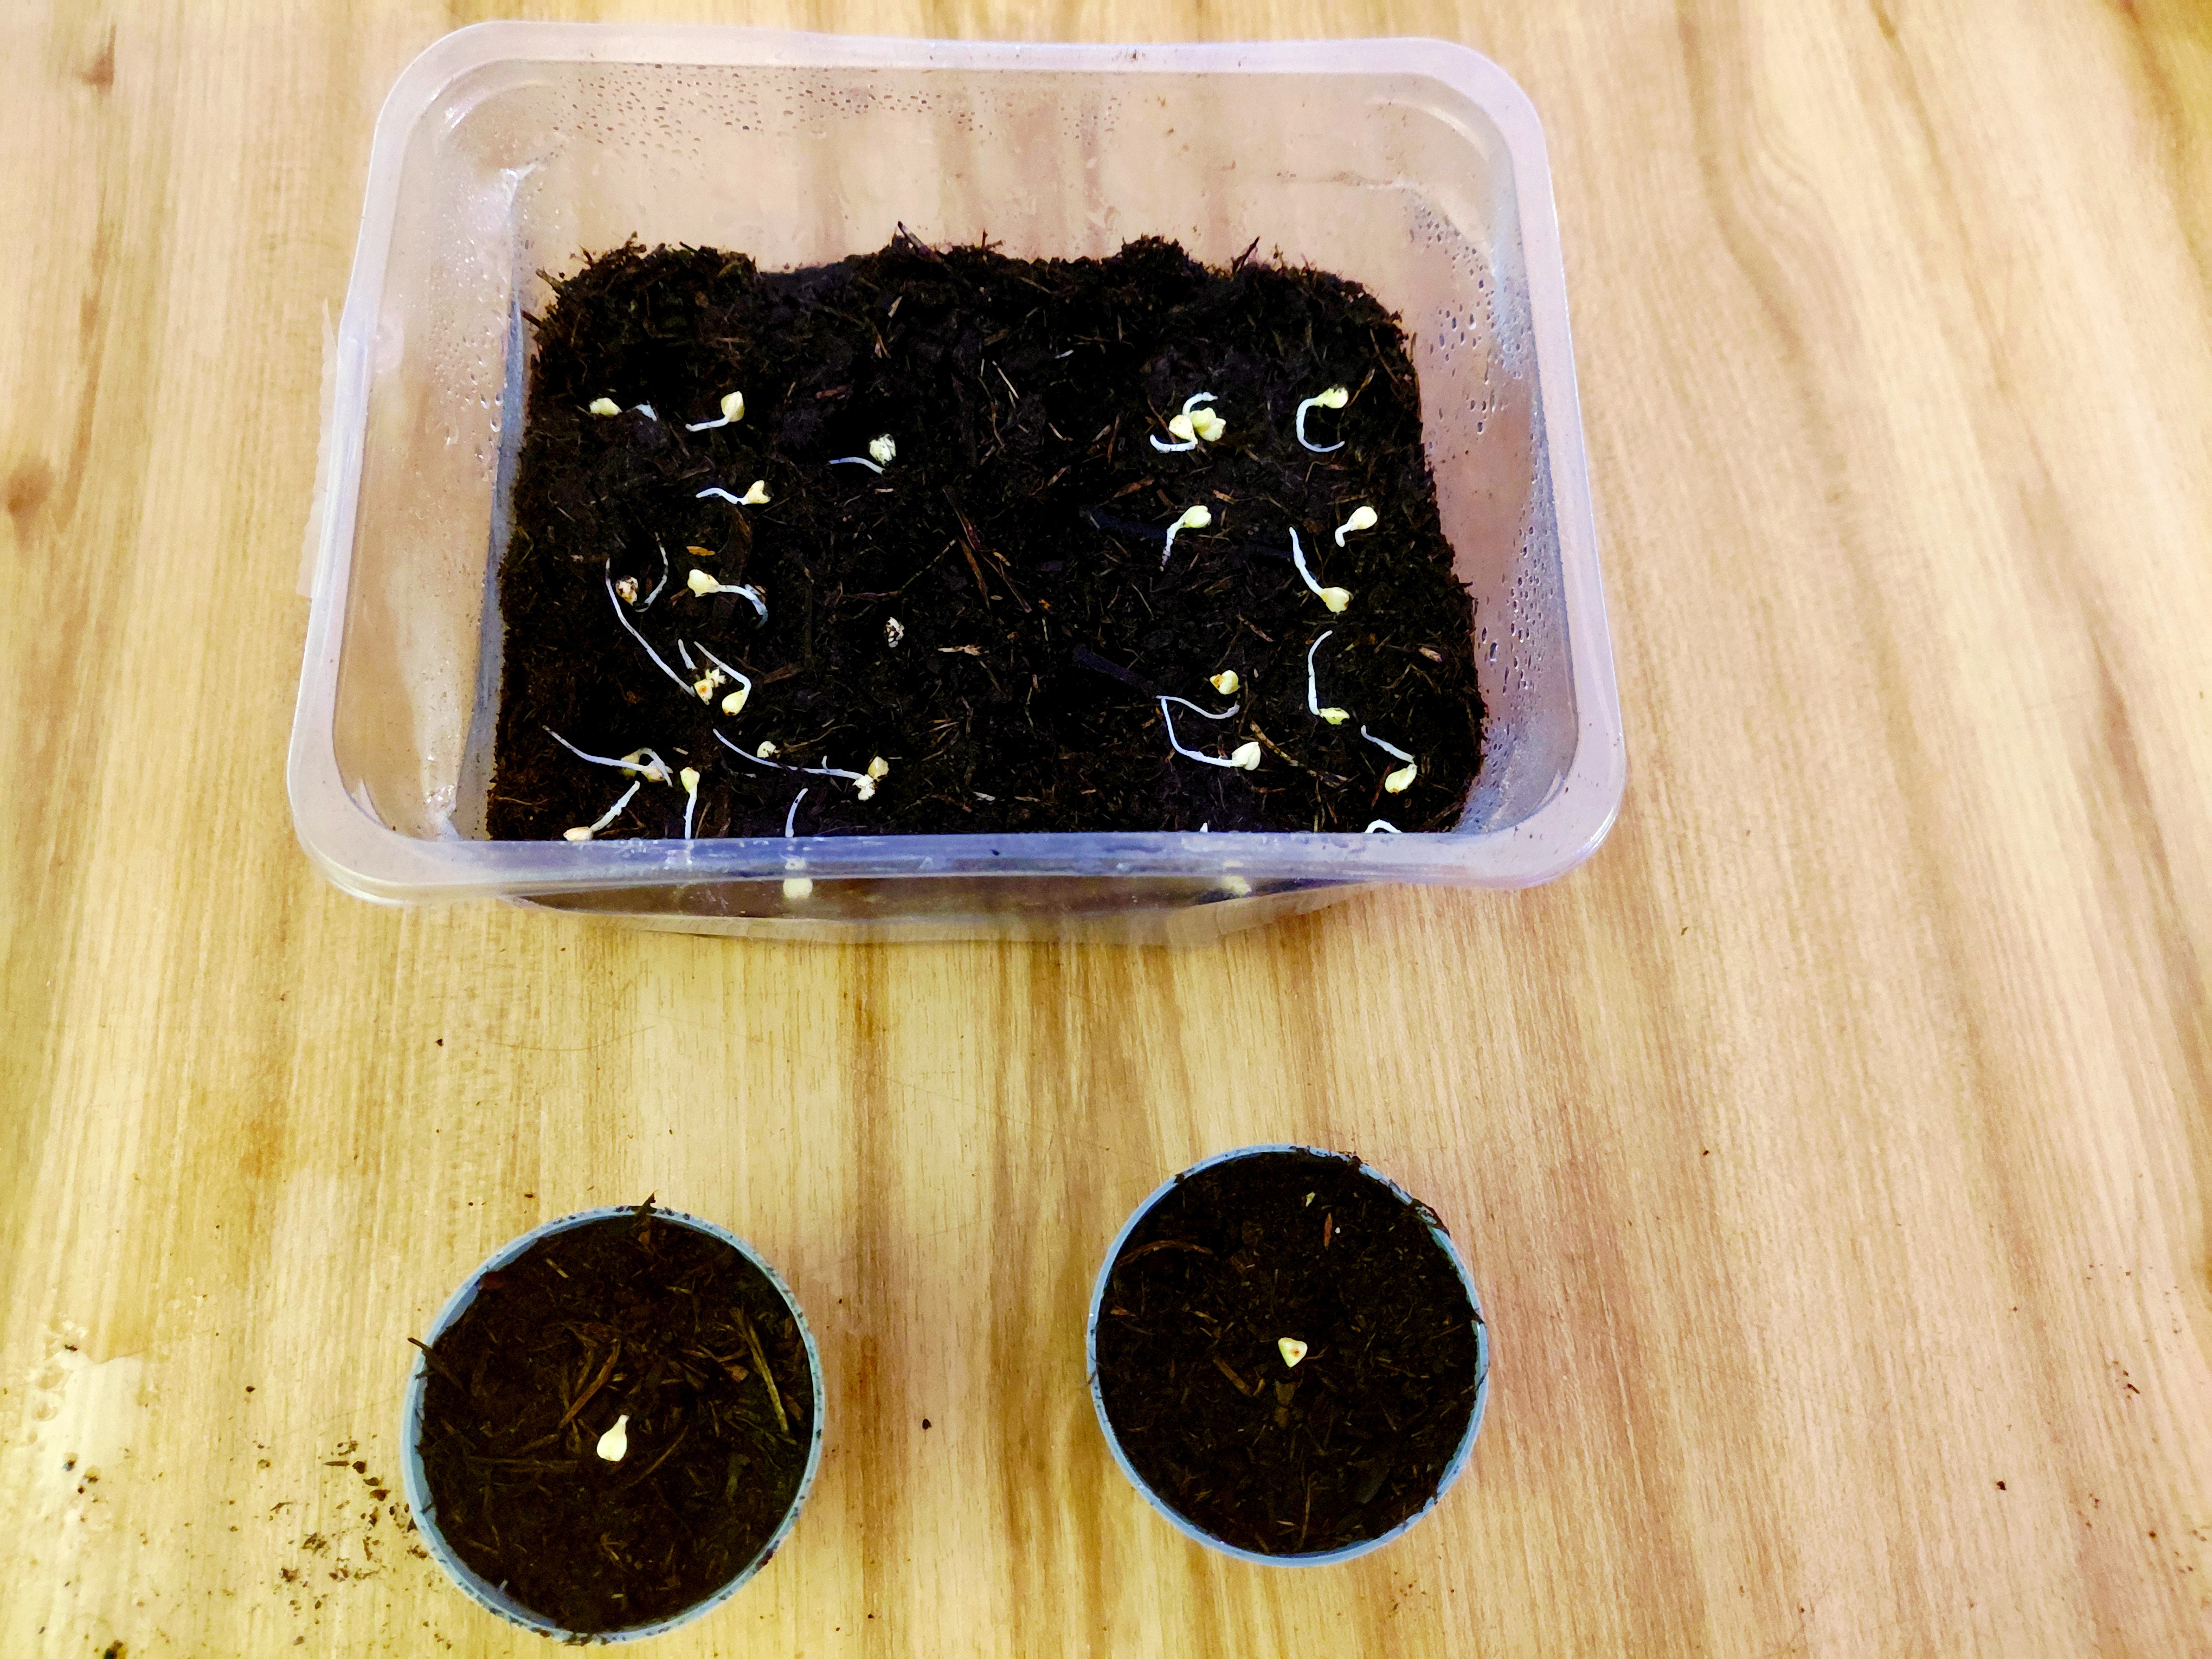 ^ Polish variety on the left, PRofC variety on the right. They were covered with a thin layer of potting soil after photowas made.
The plants are doing good. Here they are after 9 days>
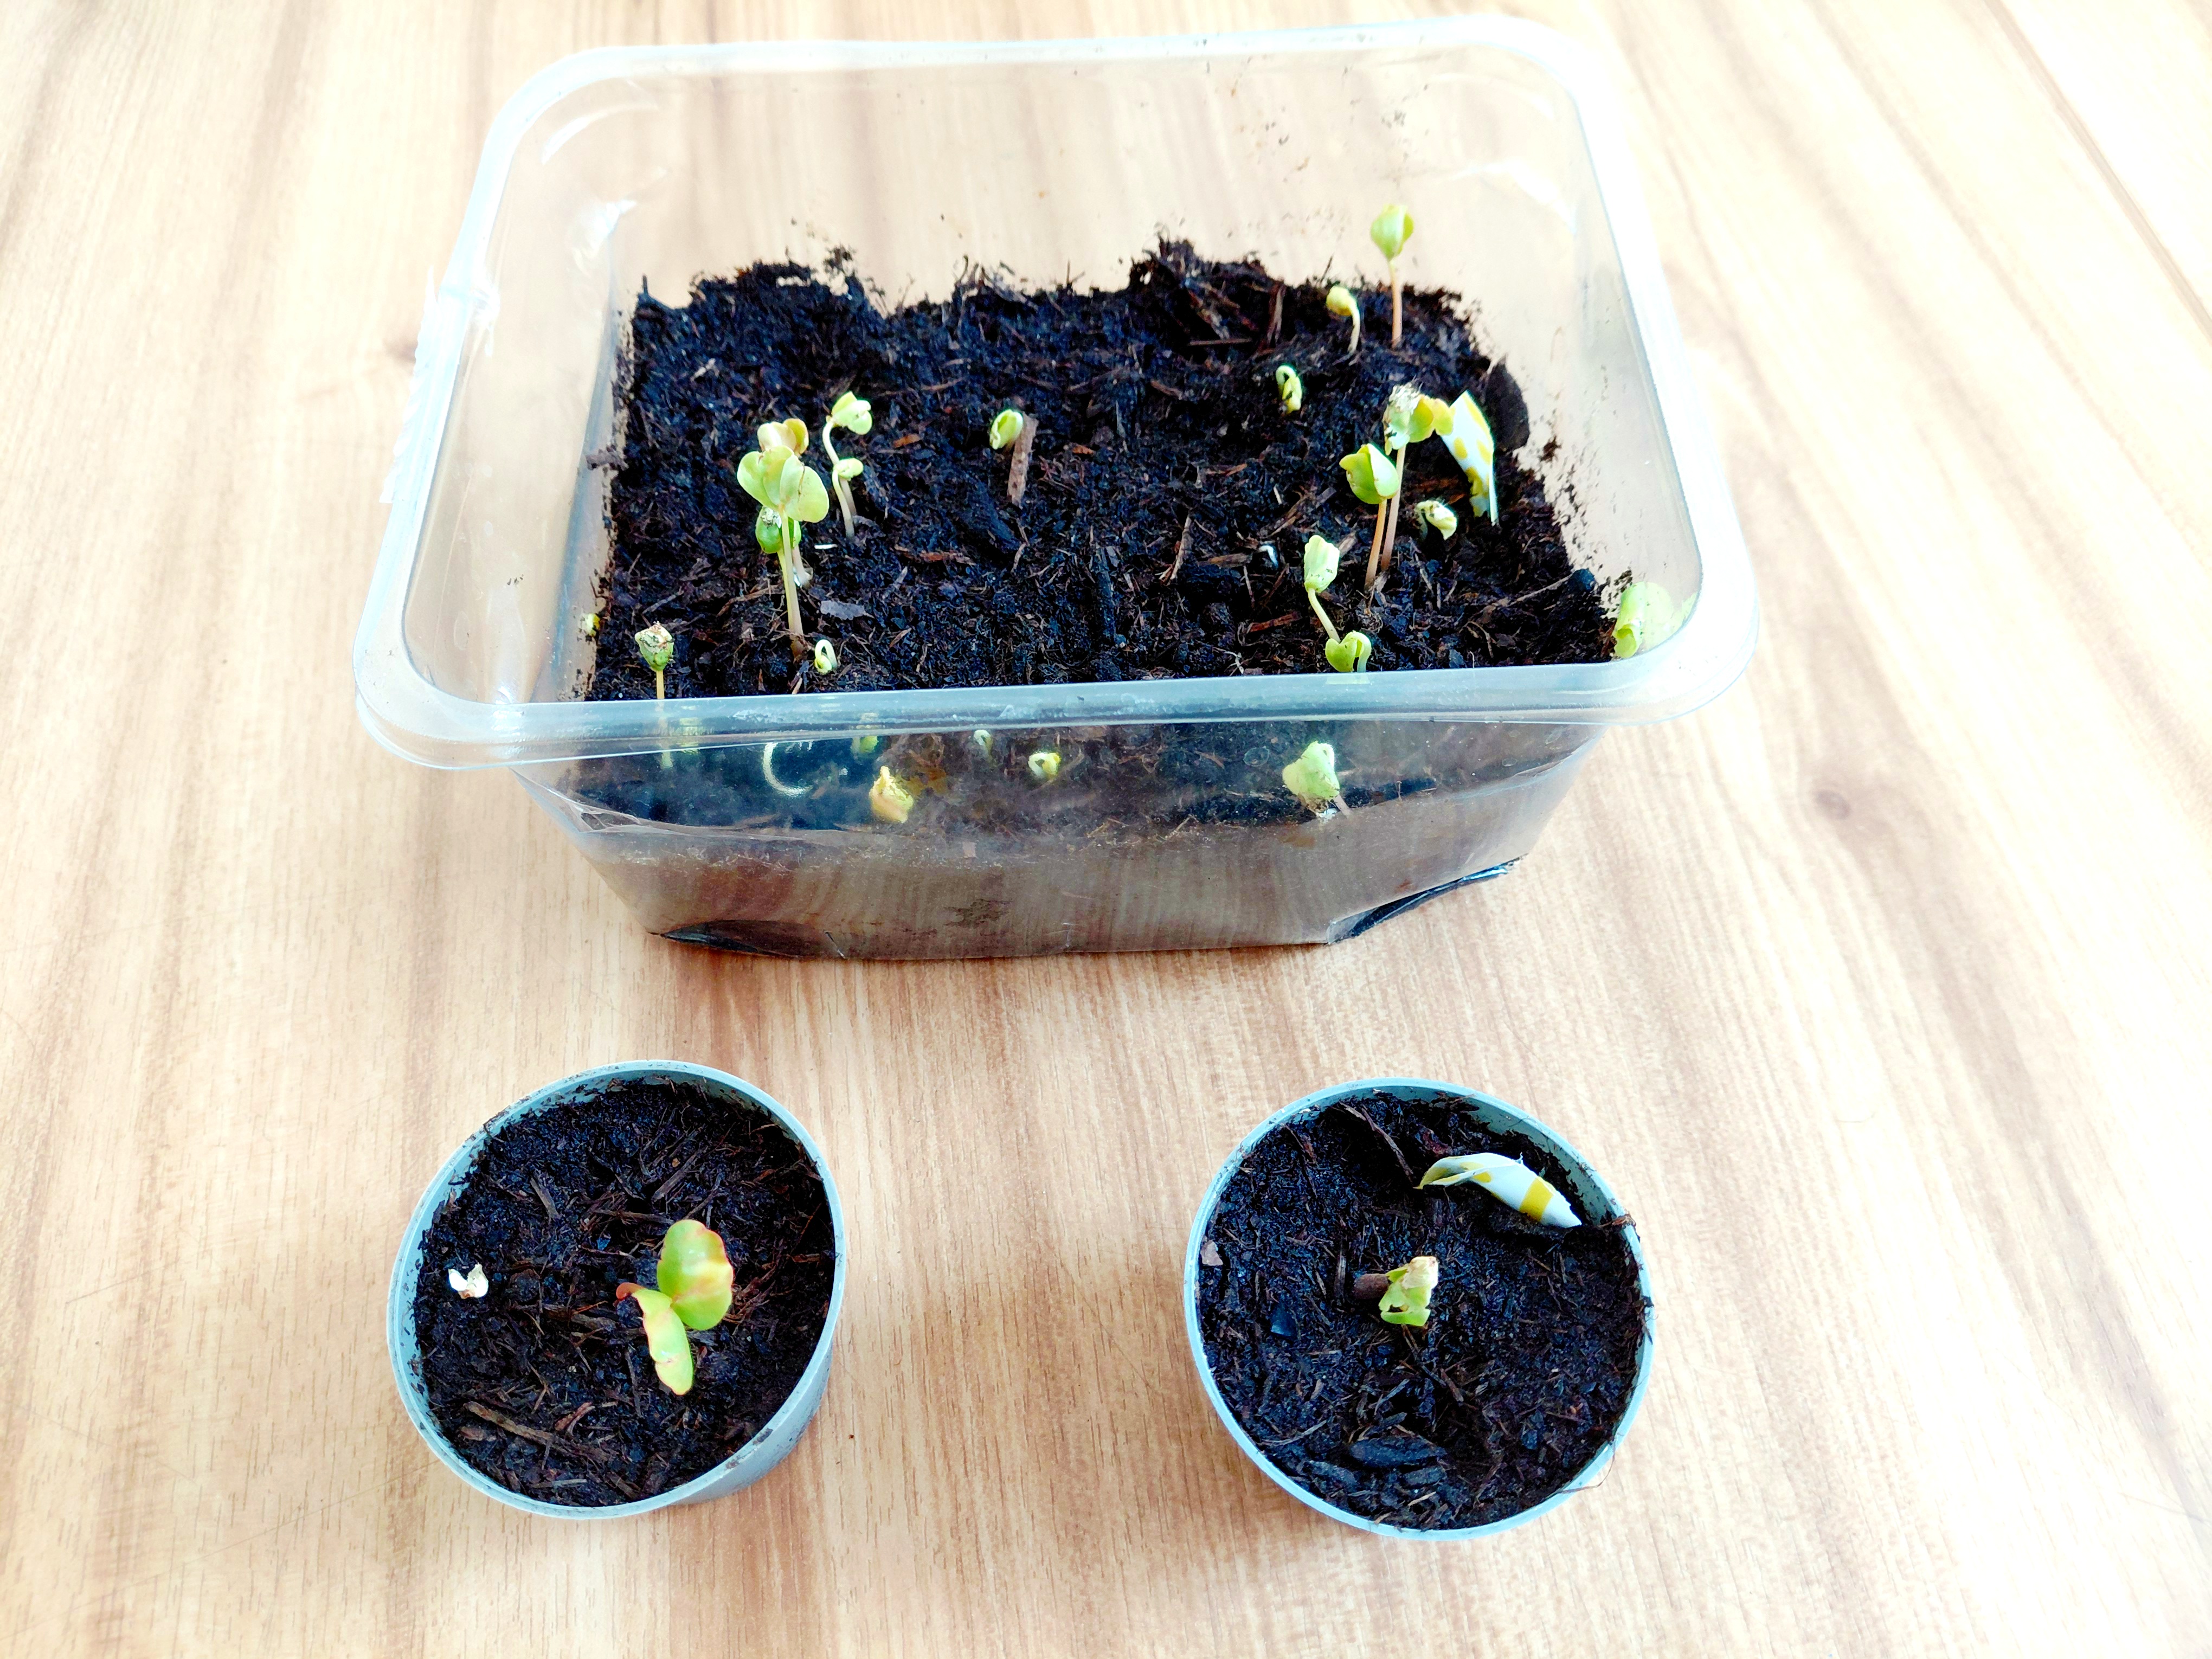
The cotyledons are now fully developed. The first true leaves are just visible. The roots are healthy. Here they are after 12days:
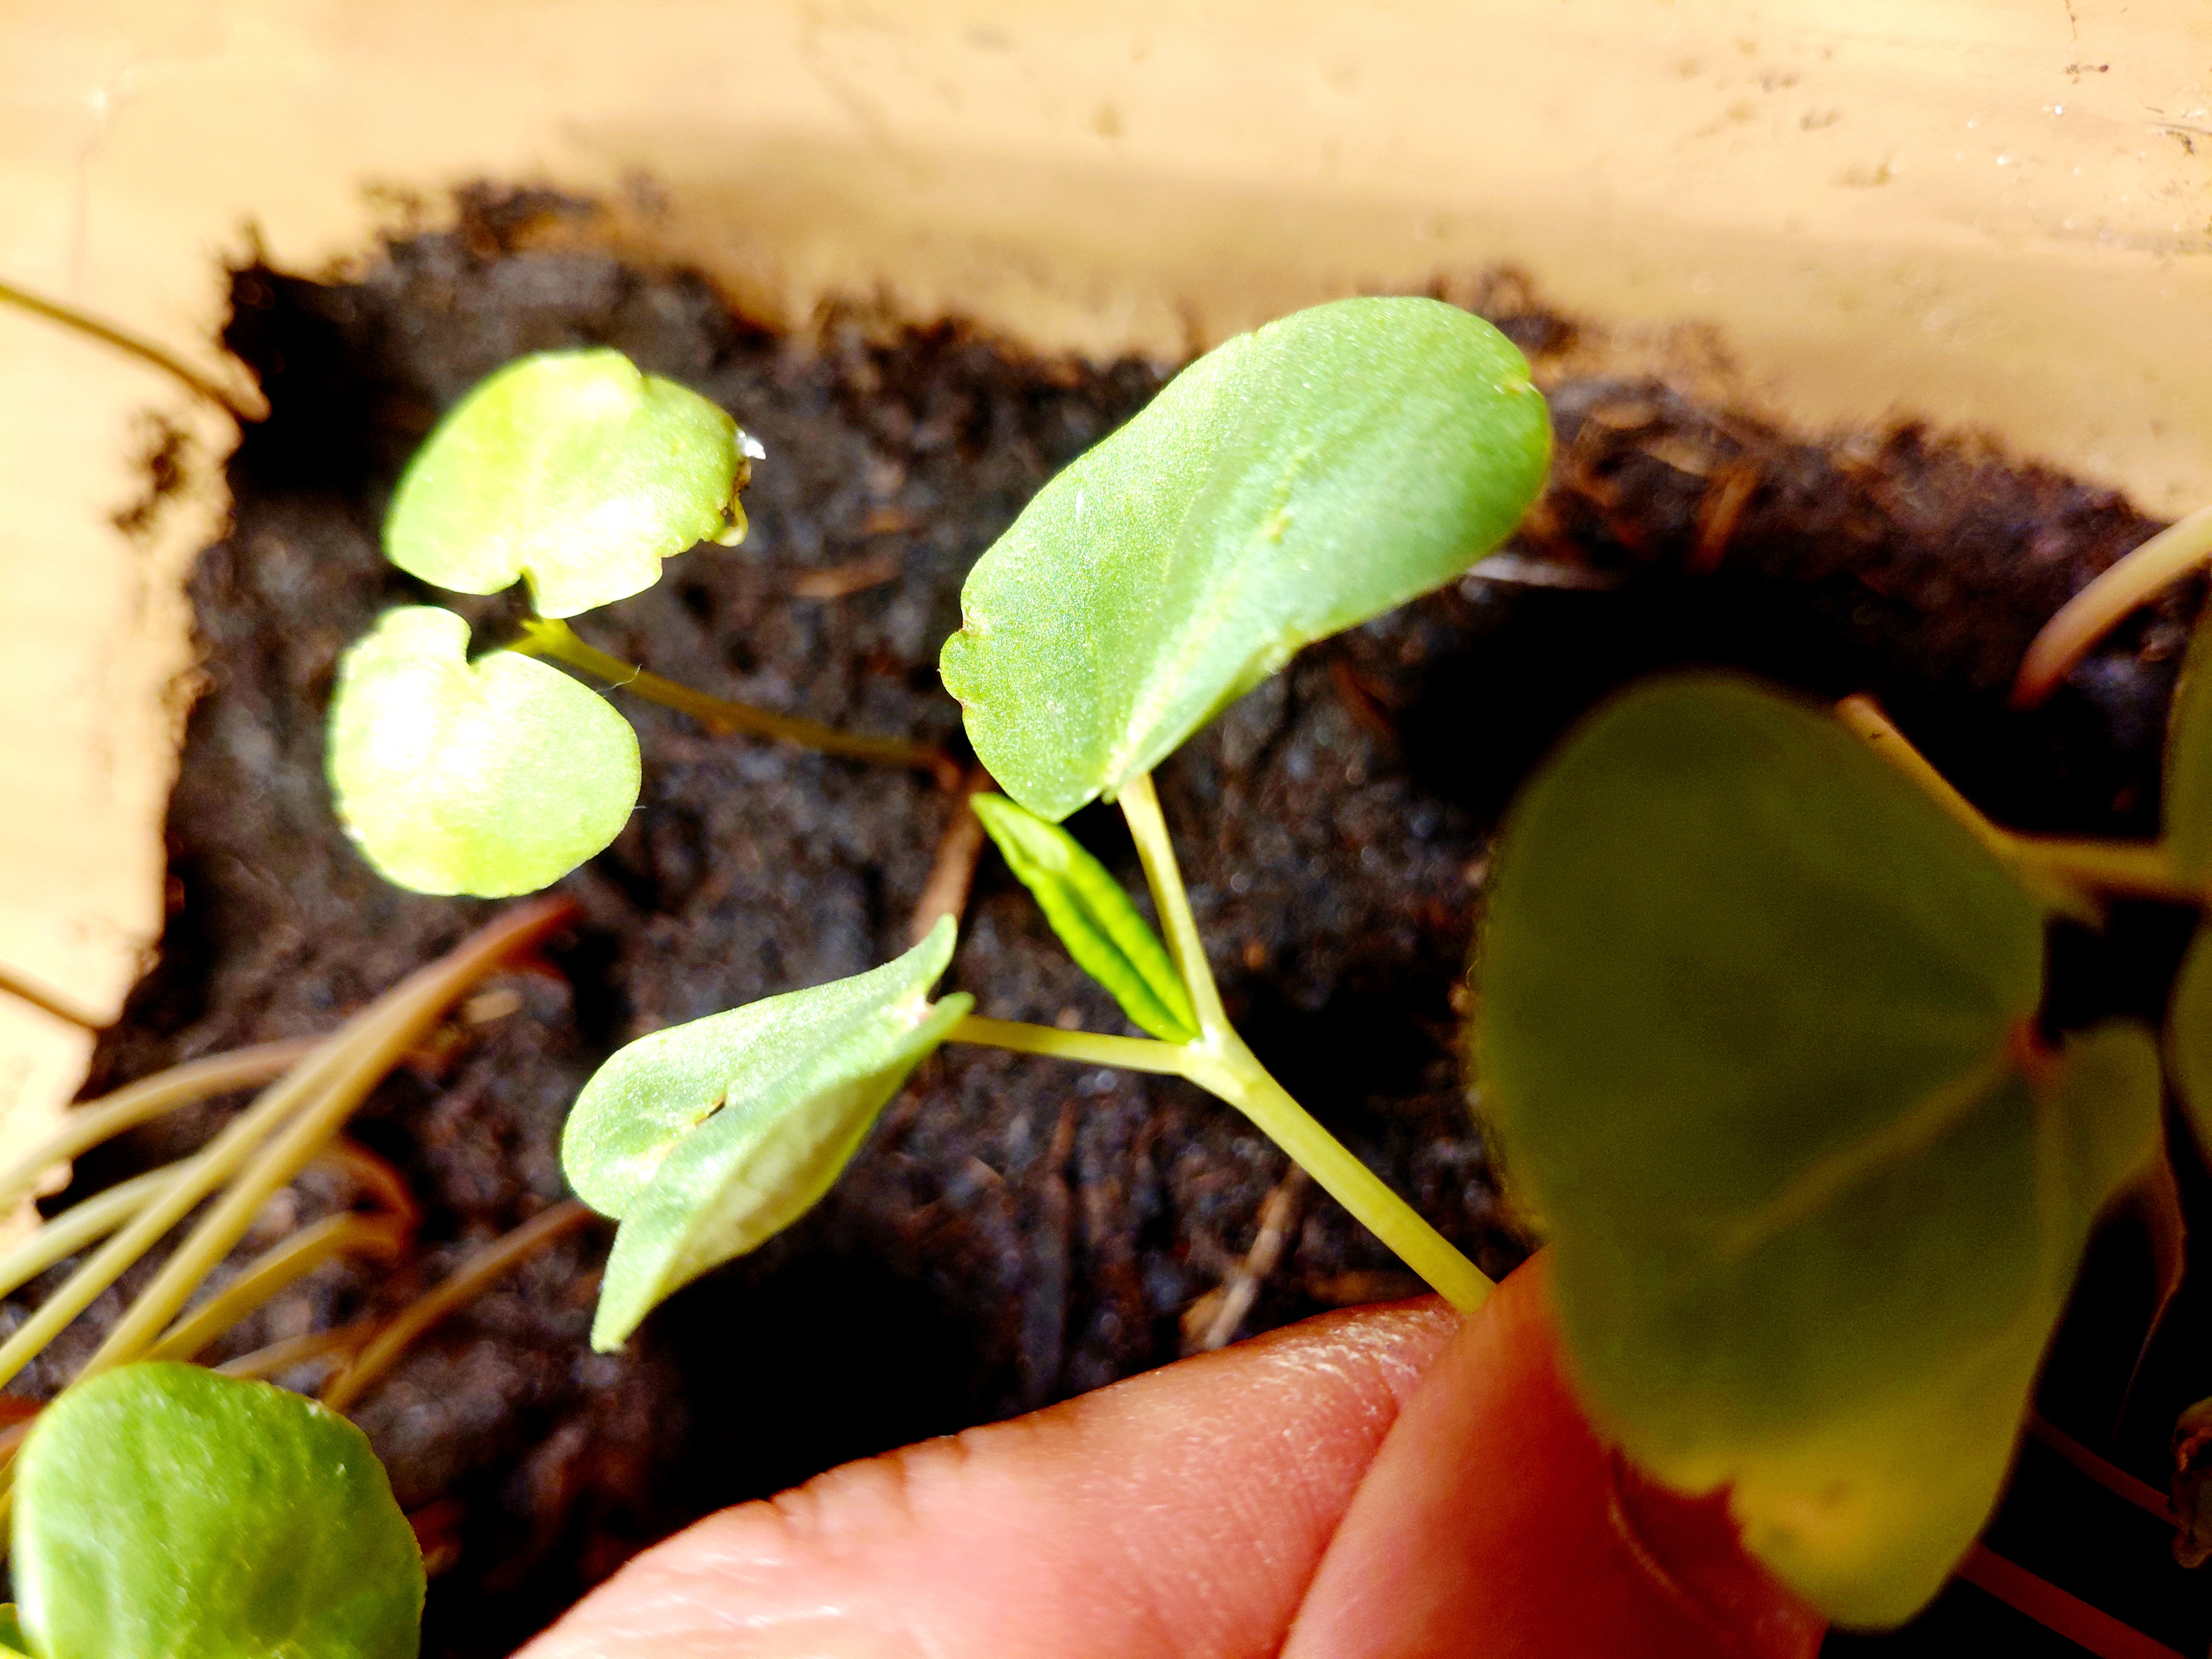
I would say this experiment was a success, you can grow buckwheat groats into plants. Unfortunately it is too early to plant these outside just now - I will repeat this later in the year and actually try to get seed from the plants.
MY EXPERIENCE WITH GROWING TIGERNUTS IN A COLDER CLIMATE + HOW TO WASH TIGERNUTS 19february2026
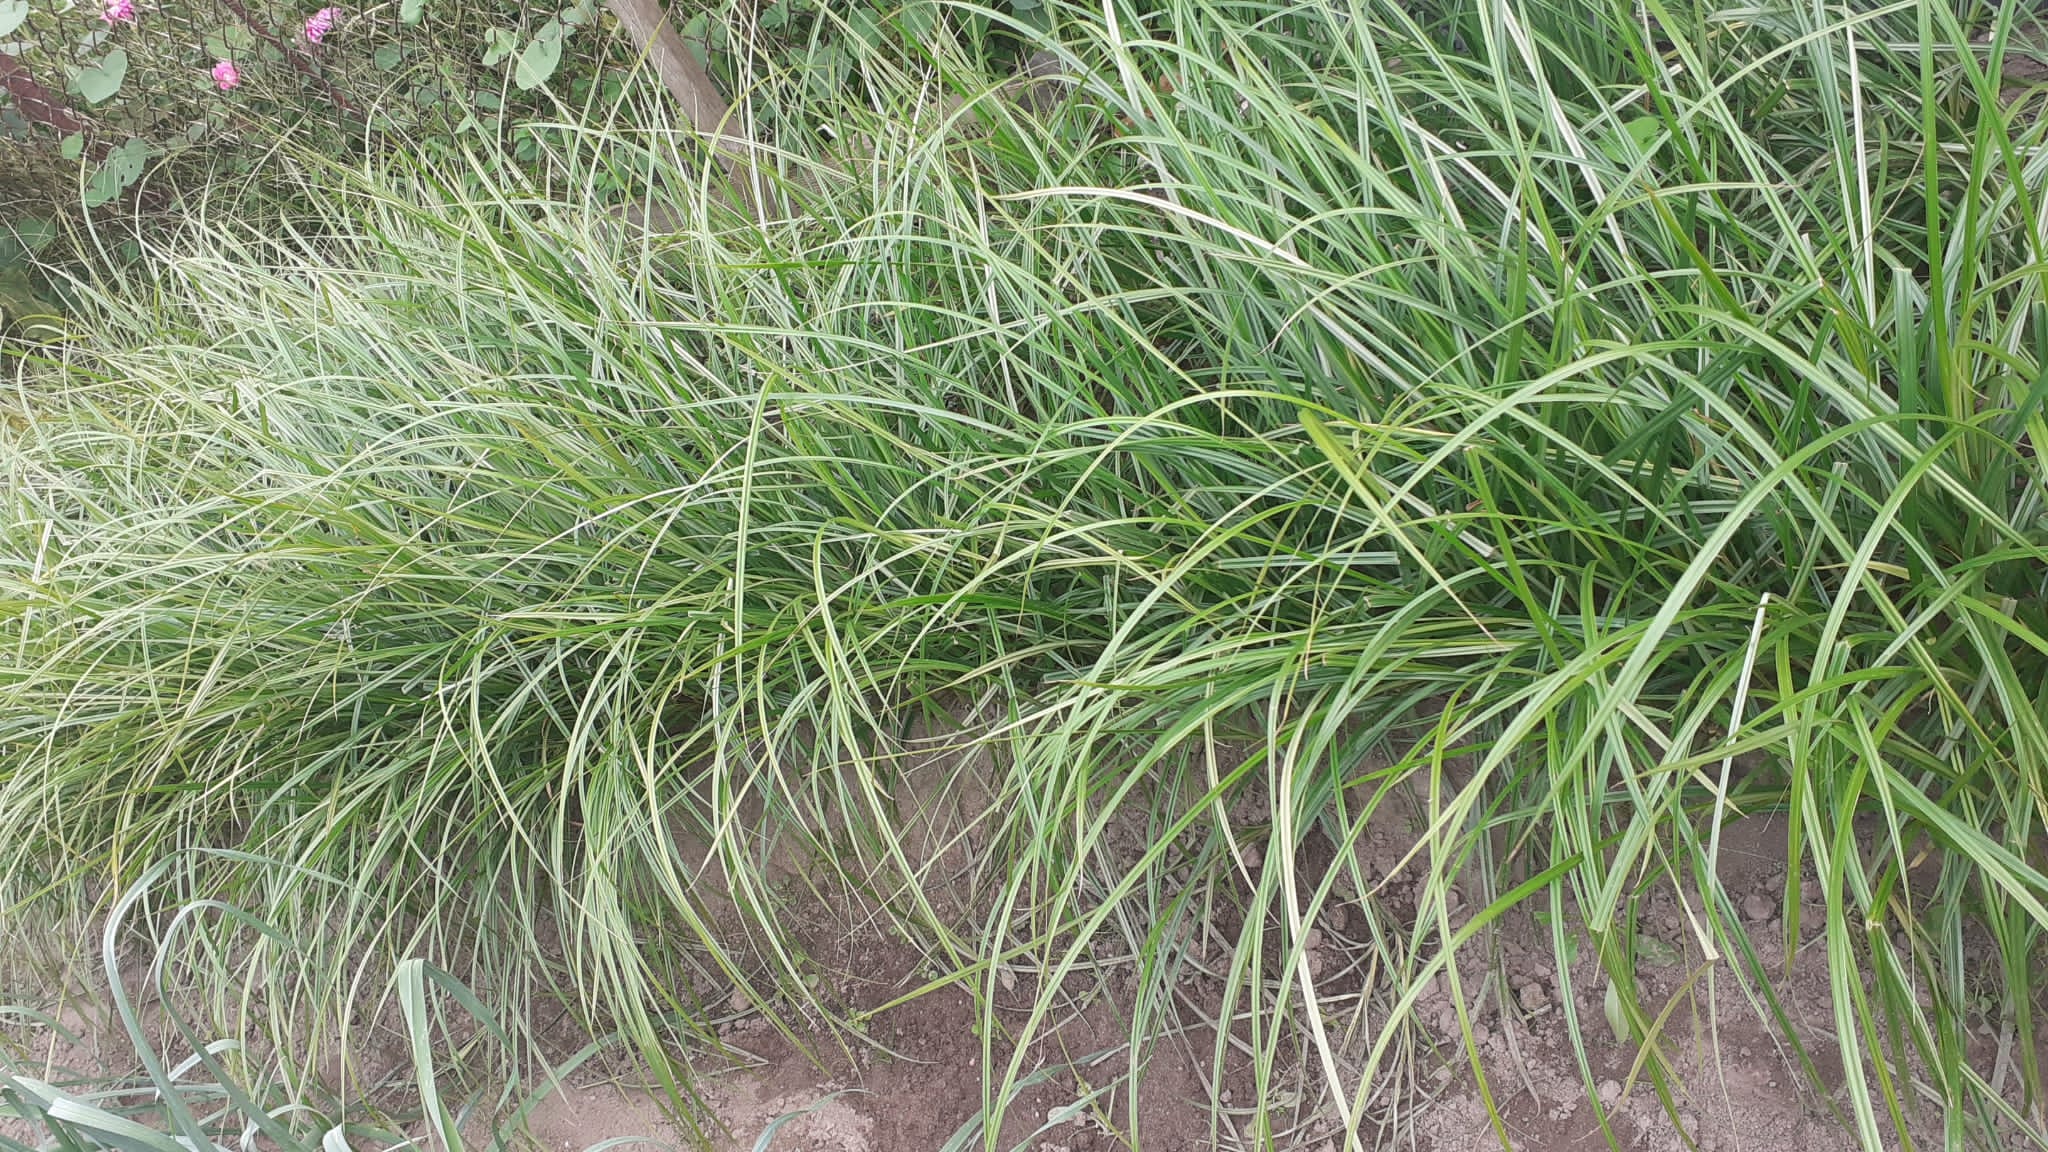 ^ tigernuts growing in my garden
 Tigernuts are tubers of Cyperus esculentus. In my opinion, they taste mostly like almonds, with a bit of hazelnut and peanut. Can be made into milk (called horchata and orxata) or eaten as a snack, blah... blah... blah... without further adew, Im getting to the point. The point being, I have a few tips for anyone wanting to grow these in colder climates, than say, Valencia:
- to grow them "up north" just sowing them directly into the soil is not enought... I had more success with this method: first, soak them in water for 24h (or even longer! they are a bit slow with absorbing water) and after that pre-sprout them in some peat or clean sand on a windowsill and transplant them when your local last frost date has passed and when the shoots are around an index finger tall
- when transplanting, put the plants deep enought to securely cover the base of the plantlet with soil
- when you put them in the soil, they will have transplanting shock, but should start growing again after max two weeks
- I'v grown them on mounds just like like potatoes are grown, a bit easier to dig out when harvesting, but a bit harder to water as the peaks of the hills dry out fast
- some soil-dwelling pest (wireworms from what I suppose) sometimes attack the tubers, leaving holes ...but apart from that the plant is very healthy and vigorous
- they do not seem to be damaged if an early cold-snap hits them... the leaves may die, but the tubers, if they are already mature, should be mostly okay
- the leaves do not dry out as in drier climates... the tubers are ready to be harvested when the green part starts to die off ... a bit like potatoes
- absolutely painstaking to dig out of the soil if you (like me) get heavy autumn rains (good luck telling apart a tuber from a pebble when you are going through your soil!!!)
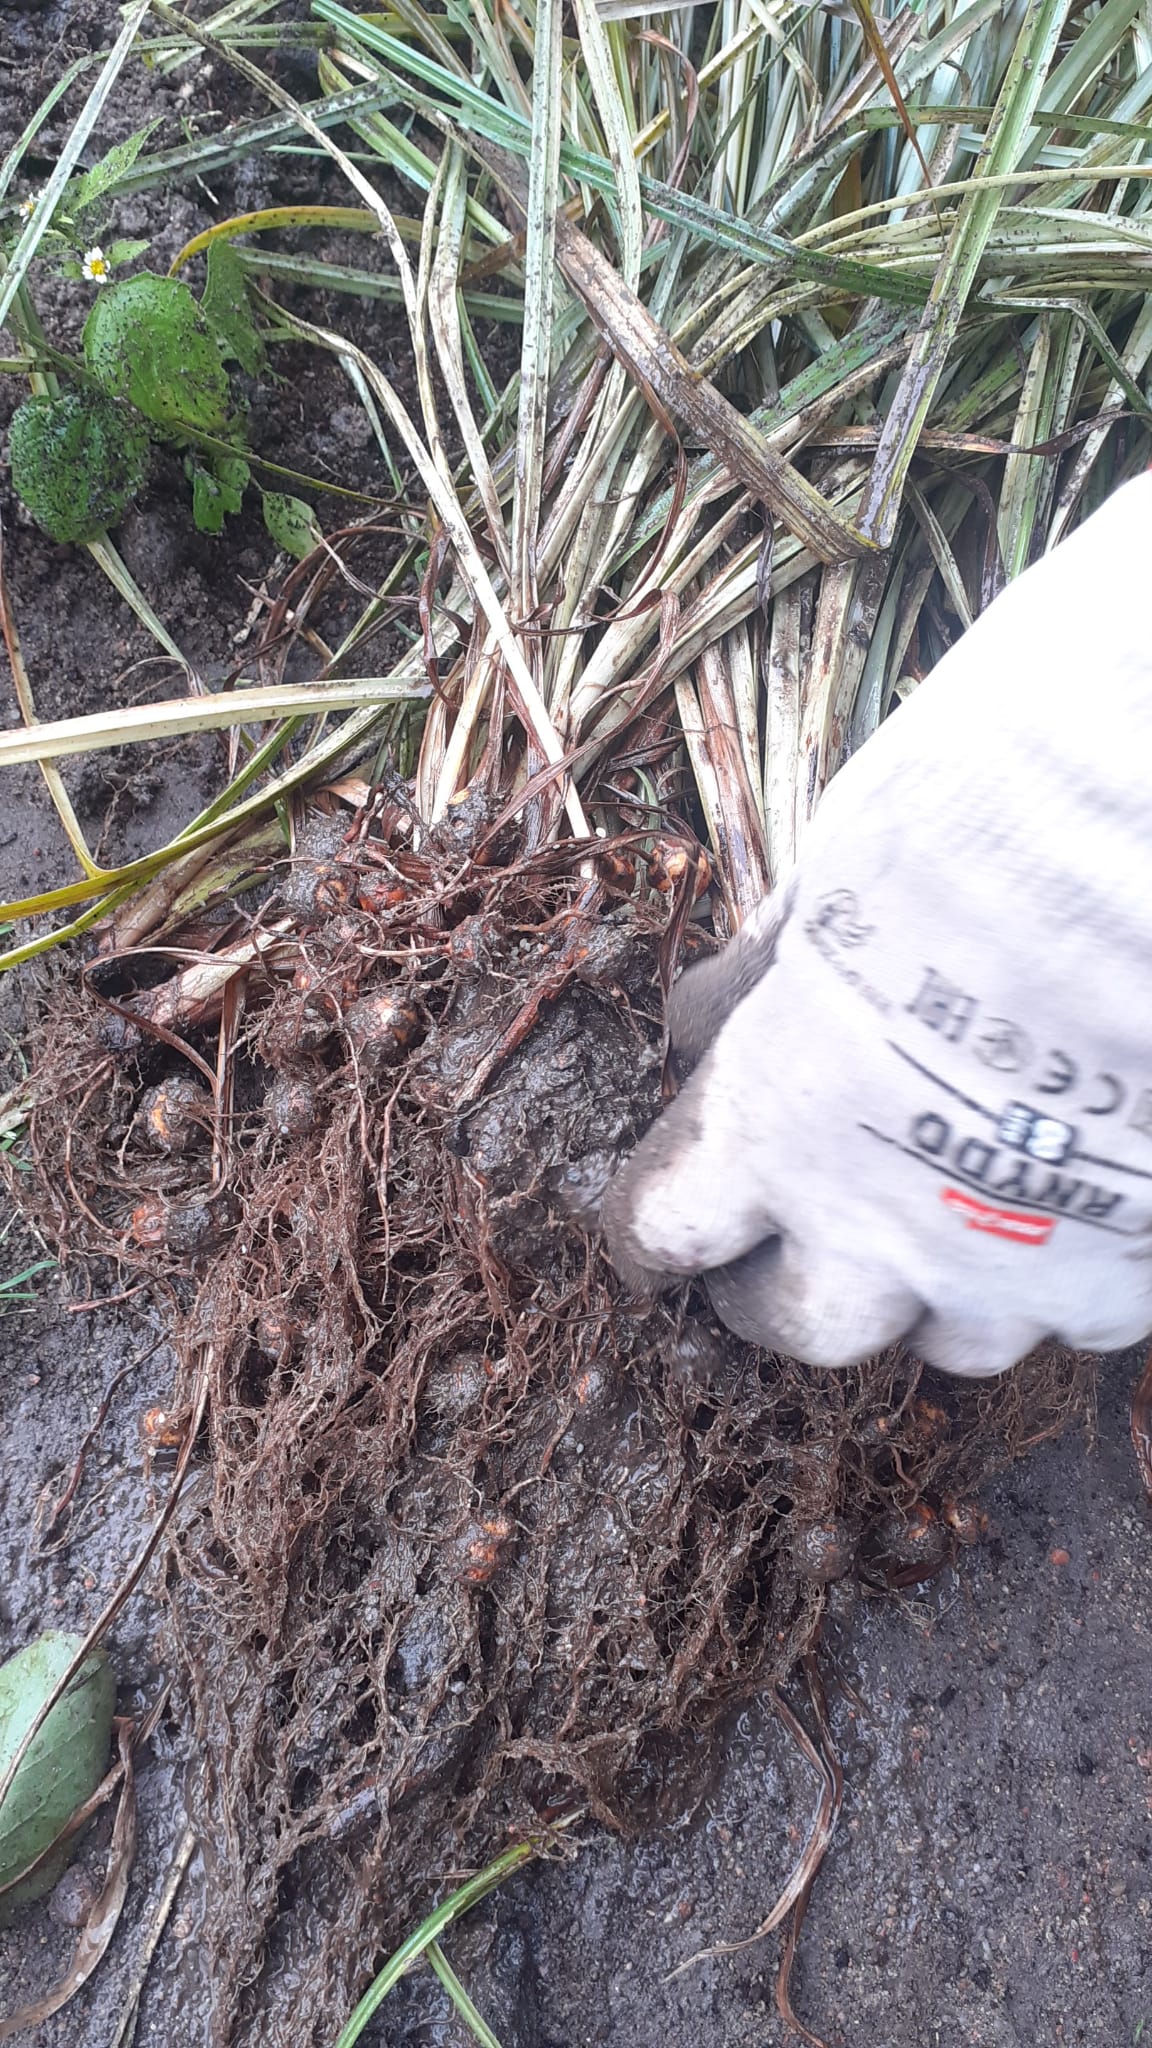
^ the leaves are not dry at time of harvest, tho slightly rotting away

^ tigernuts at harvest, many of the nuts are still attached to the plant itself, the rest is, however, free in the soil
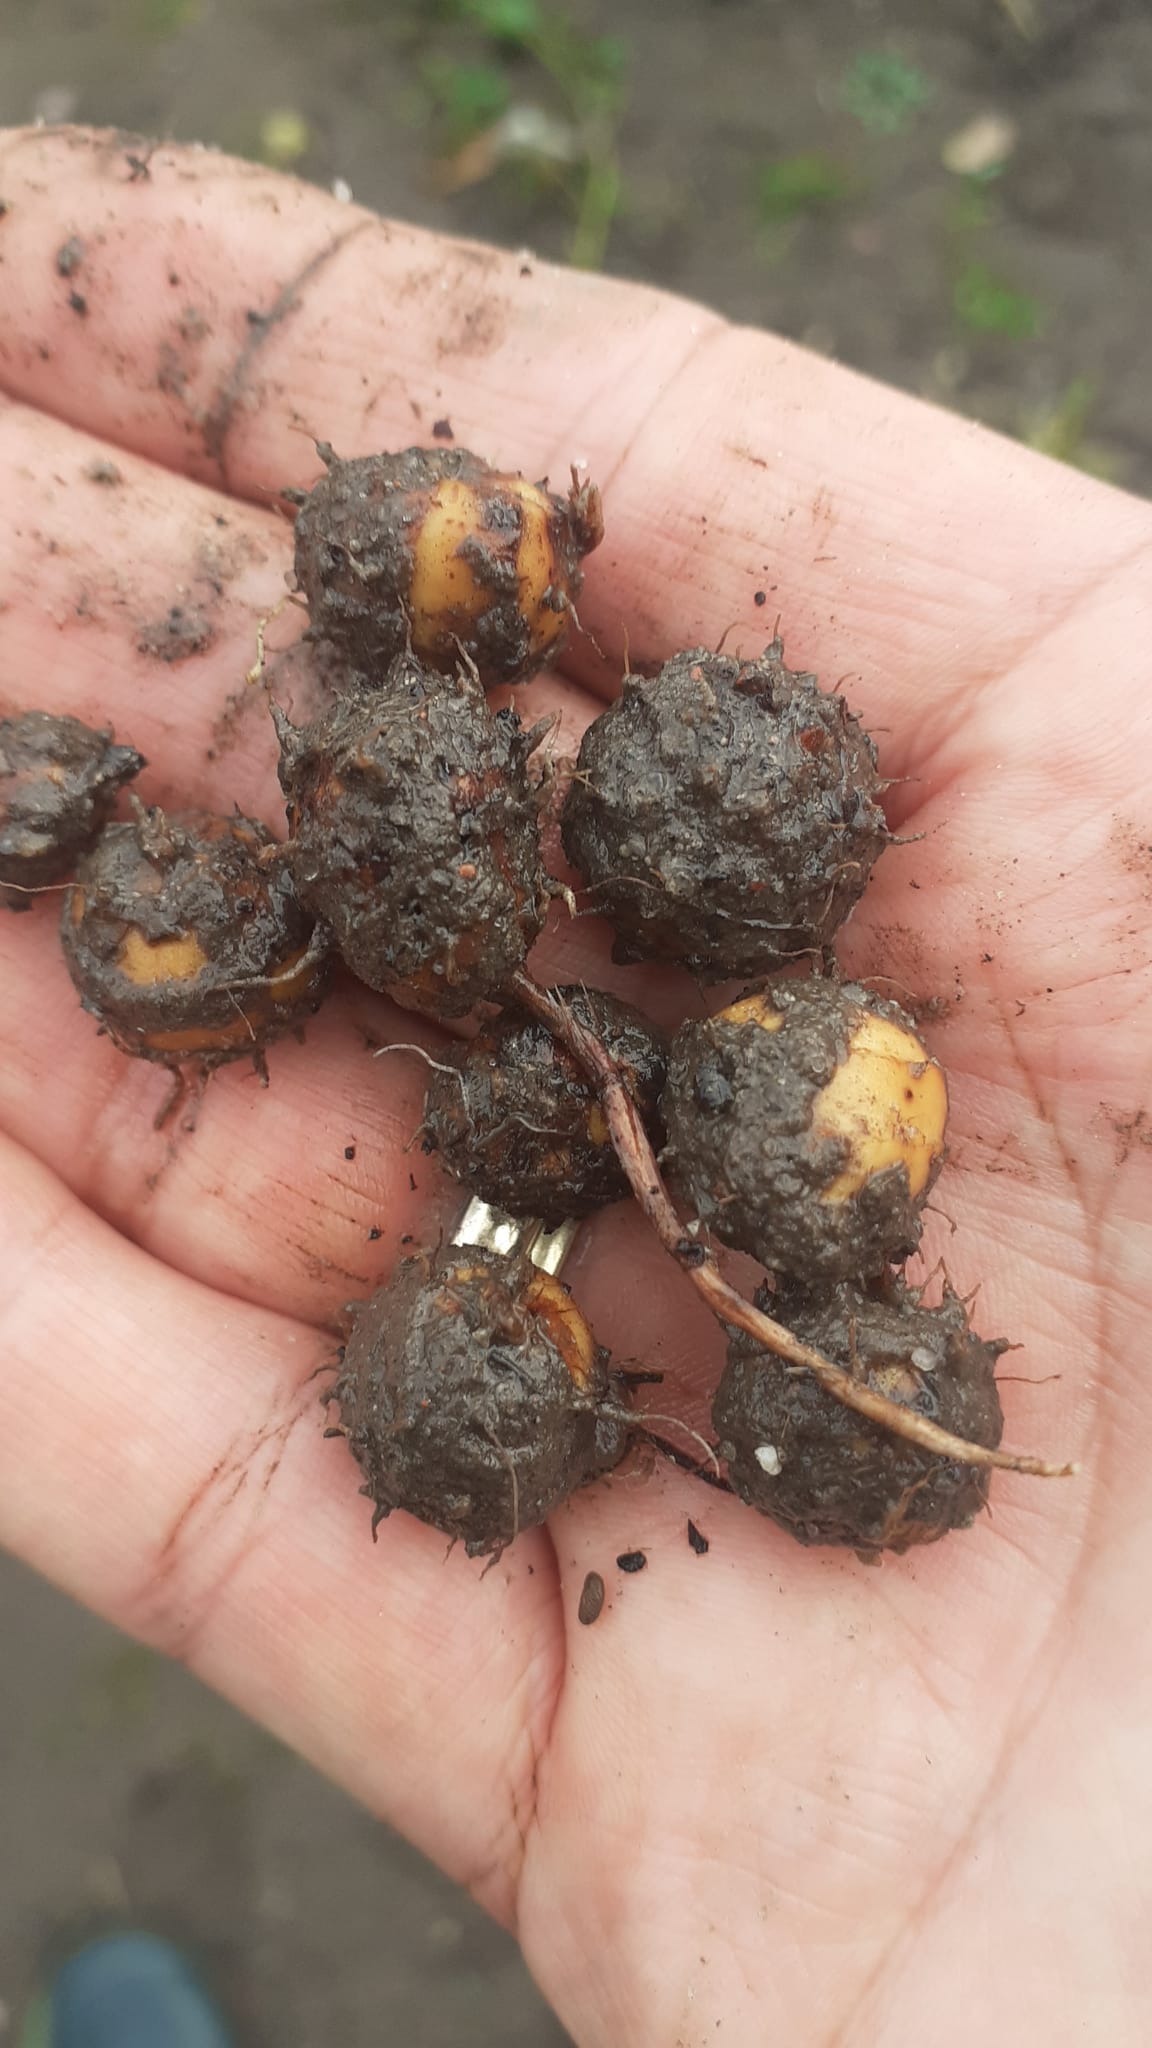
^ as you can see, they are plump
- unlike where they orginially come from (where they come out of the ground already a bit dried due to rain-free weather towards the end of the growing season) they will be verry plump (like mini potatoes) and need to be dried to be fully cured (they shrivel) and ready for long-term storage ...a warm, dry place to dry them over a longer period is neccessary
- you can expect yields of about 300g per square meter if the year is warm
- luckily, tubers grown in a colder climate taste identical to those grown in sun-bathed Valencia
So... you have harvested and dried your tigernuts... but they are covered with dirt! In my experience they are a bit hard to clean when pulling them out of the soil. This is why I first dry them them when they are still dirty in which form they are also stored untill I want to eat them... that is when I clean them in batches. The following is my manual on how to clean your tigernuts ...this technique also gets rid of the weird, brown, irritating, flaky pieces of skin on the surface of the tubers:
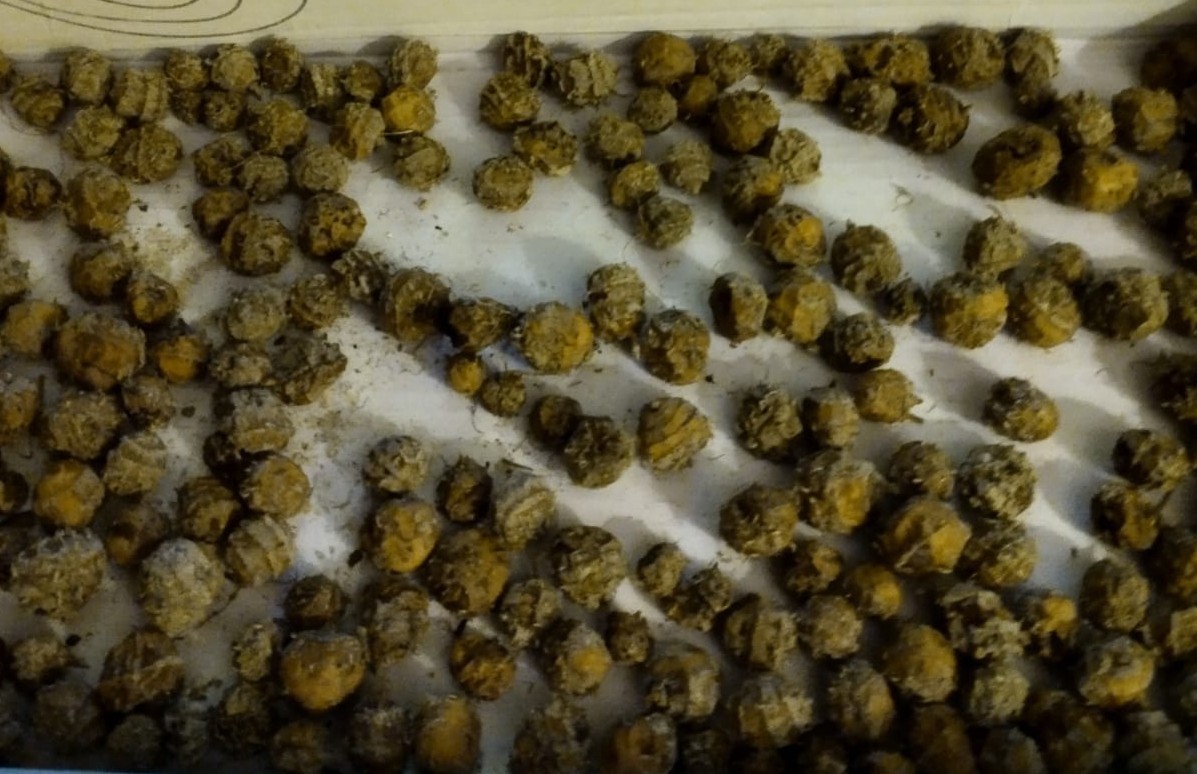 ^ dried tigernuts before washing
1. throw your tigernuts into some room temperature water to hydrate
2. after 15 to 30 minutes, start agitating the water with your tigernuts (I used my hands for batches of up to 300g, but for larger amounts I gess you could us an implement like wooden spatula of some kind) ...this step is simmilar to washing rice before cooking!
3. repeat the last step many times, changing the water as it gets murky from all the dirt
4. now you should have most of the dirt off... but the brown skins will still be attached to the surface
5. now add less water (just enough clean water to moisten the tubers) and start mixing... this time much more vigourously (do not worry, the tubers will not be injured) as you need a lot of friction to happen between the tubers (you are essentially giving them (and yourself XD) a skin peeling procedure)
6. repeat this step untill most of the tigernuts are devoid of the brown, flaky skins
7. now give the tubers a few good rinses and drain them over a seive
8. next, dry off your tigernuts (I first put them between some textile to soak up as much water as is possible and take them out and transfer them to somewhere warm and dry)...if you did the washing correctly (did not keep the tubers for too long in the water), the tubers will have soaked-up only just a bit of water in their outermost layer and this should not take longer than a few hours
9. the tigernuts should now be dried, aesthetically-looking and not taste like dirt :) they can be eaten roght away or stored
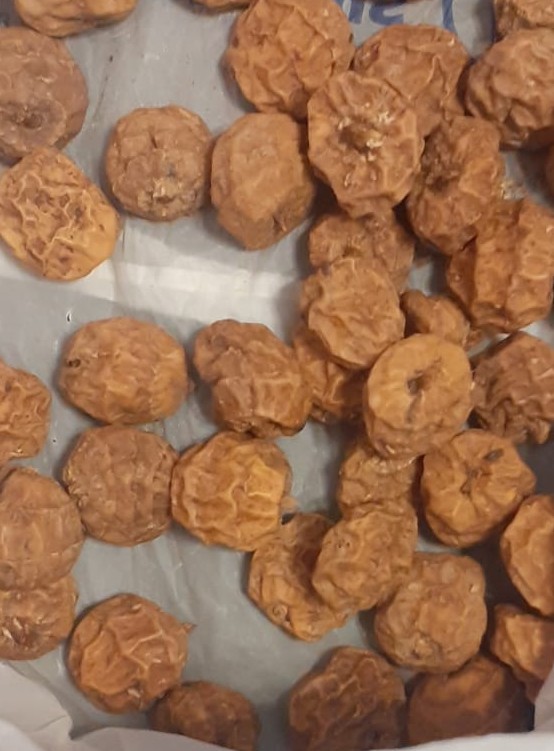 ^ tigernuts after washing and drying
 HOW MUCH LAND DO YOU NEED TO HAVE TO BE ABLE TO FEED YOURSELF ON A VEGAN DIET? 14february2026
Living somewhere more isolated and growing 100% of my own food has been a thing I want to do for a long time now. Undeniably, it must give you a deep feeling of being connected with nature and self-accomplishemnt as much as it does backpain :).
I would want to start this log with mentioning that the following is not from experience (yet!, I hope) but from quite a bit of reaserch and a lotttttt of guessing... so please take it with a grain of salt! Additionally, I am for now leaving the neccessity of supplementing of vitamin B12 and D - and how this could be done without relying on industry - for a later date. I want to focus strictly on the food production aspect for now... I do not include calculations of the land needed to produce enough firewood, land needed for other activities exc.
So... how many m² of growing space do you need per person per year?
Well, that depends on a lot of stuff... so I am going to assumume a few things that would be probably true for me if I were to start a homestead next tuesday:
- your diet is free from animal products (no need for farm animals) and is based on grains, pulses, preudograins, plant oils, fruits and vegetables (see below for specific data on such a diet)
- you eat around 3000 (up to 4000) kcal to offset all the calories lost when working physically in the garden and other chores (I am roughly basing calorie intake on dietes of medieval peasants)
- you are growing crops in a temperate climate... including around 4 months of "down-time" season during which almost nothing is available fresh from the garden... which influences what you can eat
- you get about 450mm of percipitation per year but, if needed, you can supplement water if needed from a nearby water body
- you grow your crops on medium quality soil
- you are growing your crops organically (no chemical fertilizers, no pesticides, no herbicides) and try to close the nutrient cycle but do not neccessarily employ more radical non-tillage / permaculture practices
- you try to maximize yield from your land as much as possible to the extent that it is reasonable (I know, very subjective)
On a vegan diet simmilar to mine you would eat per year:
cooking ingredient
white wheat flour: 30kg
rolled oats/oat flour: 10kg
pearled barley: 10kg
tofu: 40kg
soymilk: 100L
edamame: ?kg
dry beans: 20kg
green beans: ?kg
lentils: 15kg
split dry peas: 10kg
peanuts: ?kg
white rice: 30kg
corn grits: 10kg
sweet corn: 10kg
millet: 10kg
quinoa:
betroot:
spinach:
potatoes: 40kg
tomatoes: 30kg
peppers: ?kg
cabbage: 20kg
kale: 20kg
napa: ?kg
pakchoi: ?kg
carrots: 20kg
celery: ?kg
leaf parsley
onions: 20kg
garlic: 10kg
negi: 10kg
cucumber:
zuccini:
winter squash:
lettuce:
chicory:
sunflower seeds:
buckwheat
sweet potato:
chia:
However, cooking ingredients are not the same thing as the harvested crops they are made out of. Thusly, the amounts have to be increased:
To produce 1kg of white wheat flour, around 1,333 kg of wheatberries are needed.
To produce 1kg of rolled oats or oat flour, around ? kg of hulled oats are needed.
To produce 1kg of pearled barley, around ? kg of hulled barley is needed.
To produce 1kg of firm tofu, around 1 kg of soybeans are needed.
To produce 1L of soymilk, around 125 g of soybeans are needed.
To produce 1kg of red lentils, around 1.2 kg of hulled red lentils are needed.
To produce 1kg of white rice, around 1.7 kg of hulled rice/paddy rice is needed.
To produce 1kg of proso millet, around ? kg of hulled millet is needed.
To produce 1L of tomato sauce, around ? kg of fresh tomatoes are needed.
To produce 1kg of dried tomatoes, around ? kg of fresh tomatoes are needed.
I have also supposed that 1/4th of the weight of vegetables harvested and stored for a longer time (potato, carrot, celery, onion, garlic) is lost due to post-harvest diseases caused by, for example, Erwinia carotovora, Botritis, Penicillium.
I have also supposed that 1/11th of the weight of vegetables harvested is lost as off-cuts.
Thusly, on a vegan diet simmilar to mine you would have to produce per year:
cooking ingredient           amount                           harvested crop           amount
white wheat flour            30kg              --->           wheat berries            40kg
oat flakes and flower        10kg                             hulled oats              ?kg
pearled barley               10kg                             hulled barley            777kg

tofu                         75kg                             soybeans                 -//-
edamame
dry beans                    20kg                             -//-                     -//-
green beans    20kg                 ?g                   777m²
red lentils    15kg               100g                   777m²
brown lentils  15kg               100g                   777m²
split dry peas 10kg               150g                   777m²
green peas     20kg                 ?g                   777m²
peanuts        10kg
The next step is actually calculating yields. These are very hard to predict as they depend on a lot of things. For simplicity, I will be supposing that crops will be attaining around 50% of conventional yields i.e. those reported in satatistics by conventional farmers (this is not the case, but oh well).
crop           amount                 presumed yield             needed area
wheat          30kg         ----      125g/m²            --->    240m²
oats           10kg                     ?g/m²                    777m²
barley         1okg                   110g/m²                    777m²

soybeans       75kg                   125g/m²                    900m²
dry beans      20kg                   125g/m²                    777m²
green beans    20kg                     ?g/m²                    777m²
red lentils    15kg                   100g/m²                    777m²
brown lentils  15kg                   100g/m²                    777m²
dry peas       1okg                   100g/m²                    777m²
green peas     20kg                     ?g/m²                    777m²
peanuts        10kg                    50g/m²                    777m²

rice: 30kg                            256g/m²                    777m²
corn: 10kg
millet: 10kg

potatoes: 40kg
carrots: 20kg 4kg/m²
lettuce 10kg 2kg/m²
cabbage: 20kg
napa cabbage: 20kg 2 kg/m²
kale: 20kg
broccoli: 10kg 0.5kg/m²
tomatoes: 30kg 3kg/m²
onions: 20kg 1,5kg/m²
garlic:10kg 150g/m²
These crops, rounded-up to 10m² (the smallest division of land I am planning) and divided into the four crop rotation sections (see post from 11february2026) would look something like this(tennis court for size comparison):
SOME LINKS AND RECCOMENDATIONS 13february2026
This is a collection of sites I find valuable.

afgl.neocities.org ...a good site with vegan recepies (in spanish)
old-search.marginalia.nu ...a search engine that prioritizes small, non-commercial sites
@wianoeu ...youtube chanel featuring traditional crafts (mostly in polish)
eugeniomonesma ...youtube chanel featuring traditional crafts (mostly in spanish)
eugeniomonesma ...site with info about how to control pests/diseases in organic gardening
PLANNED CROP ROTATION FOR HOMESTEADING 11february2026
This is a 4-year crop rotation that I am planning to apply. It should protect the crops from some diseases (crop rotation is pretty effective at reducing the incidence of some diseases that overwinter in soil and crop residues) and limit soil depletion.
Legumes (Fabaceae family crops i.e. dry pulses, peanuts and leguminous vegetables like green beans and edamame):
- soybean
- dry beans (red kidney/black turtle and navy)
- lentils (red and green/brown)
- dry peas
- green beans
- edamame
- peanuts
Some of the legume crop deseases that I would want to limit by applying such a crop rotation would be charcoal rot of soybean caused by Macrophomina phaseolina (tho care must be taken as the pathogen also can survive on corn) [1], Soybean anthracnose caused by Colletotrichum, white mold/Sclerotinia stem rot of soybean caused by Sclerotinia sclerotiorum (shared with other legumes like peas and beans; care must be taken as the pathogen can also survive on sunflower and Brassicaceae family crops) [2], septoria brown spot of soybean caused by Septoria glycines[3], _[4].
Crop rotation will not protect legume crops from diseases like... and pests like...
Legumes are an important part of the crop rotation as they have the ability to fix atmospheric nitrogen. Wheather they actually use that ability depends on the contents of N in the soil - that process is rather energy-expensive and if there is enought N to sustain their growth, they will not waste their resources and will just absorb it from the soil. This is important to note as I plan to recycle as much of organic matter (crop residues, weed biomass, cooking scraps, processing scraps, humanure, urine) back into the soil, they would probably be relying on the N from the soil.
Rice, corn and millets (rather 'warm climate' Poaceae family crops of the Oryzoideae and Panicoideae subfamilies):
- rice (basmati rice, jasmine rice, non-aromatic long-grain rice, short-grain rice)
- corn (flint corn, pop-corn, sweetcorn)
- proso millet (normal proso millet, sticky proso millet)
- sorghum
Vegetables, herbs, oil crops and pseudograins:
- Solanaceae family (tomato, potato, bell and hot pepper)
- Brassicaceae family (kale, canola for canola oil, napa cabbage, cabbage, pakchoi, broccoli, cauliflour)
- Aliaceae family (garlic, onion, negi/green onion/spring onion)
- Chenopodiaceae family (quinoa, beetroots, amaranth)
- Cucurbitaceae family (cucumber, pumkins/winter squash, summer squash/zuccini)
- Asteraceae family (lettuce, chickory, sunflower)
- various minor families (buckwheat, sweet potato, basil, chia, sesame)
Wheat, barley and rye (rather 'colder climate' Poaceae family crops of the Pooideae subfamily):
- wheat (bread and pasta type)
- barley (2-row for brewing and for 6-row for groats)
- oats
- rye
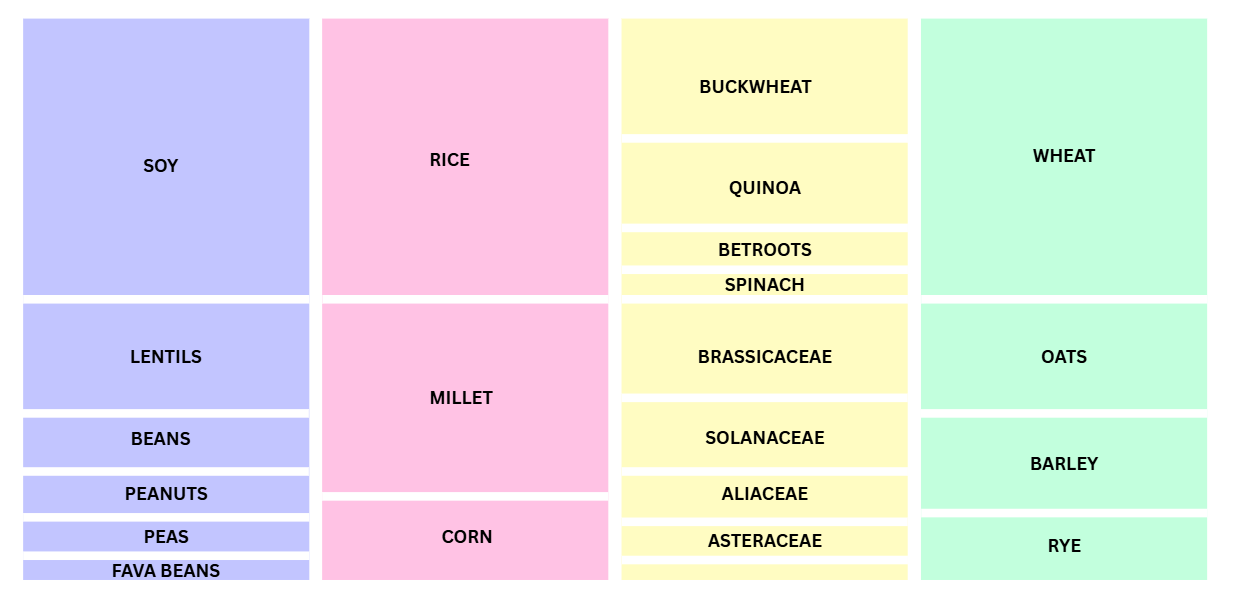
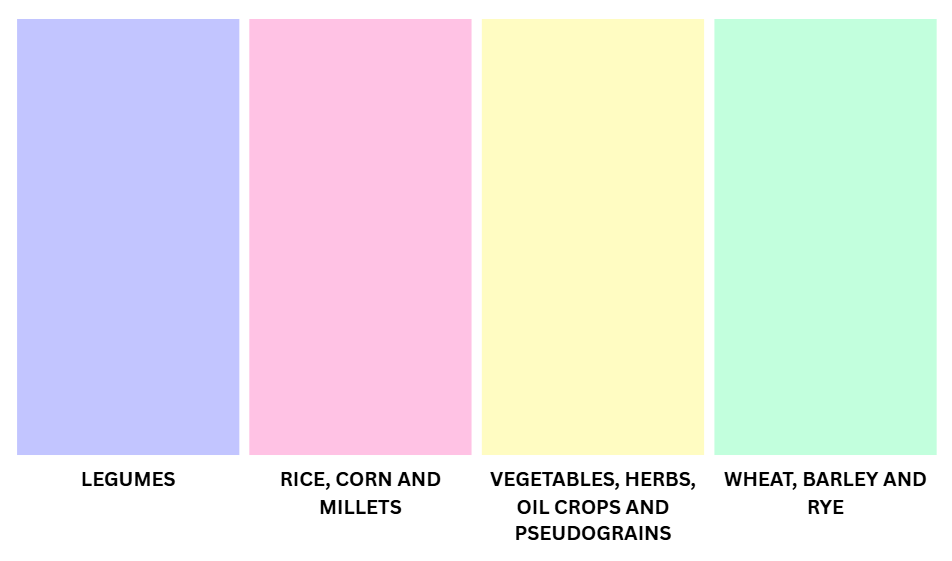
Such a four-year crop rotation would be pretty nice on its own, but we can do better... Since I plan to eat a lot of soybeans and rice, they take around 50% of the area of their respective plots, so you could divided the four sections in half (1a. soybeans, 1b. rest of the legumes, 2a. rice, 2b. corn and millets, 3a. vegetables, herbs and oilseed crops, 3b. pseudograins, 4a. wheat, 4b. barley and rye). This would defacto be a a 8-year crop rotation with legumes every 4 years. See the representation below:

Of course, this is a general idea... you could perhaps sow/plant some fast-growing vegetables just after harvesting wheat in the late summer.
Some imitations of this crop rotation are that...
Sources:
[1] https://cropprotectionnetwork.org/encyclopedia/charcoal-rot-of-soybean
[2] https://cropprotectionnetwork.org/encyclopedia/white-mold-of-soybean
[3] https://cropprotectionnetwork.org/encyclopedia/septoria-brown-spot-of-soybean